← All projects

LED Art

Upgrading IKEA Lamps with WLED

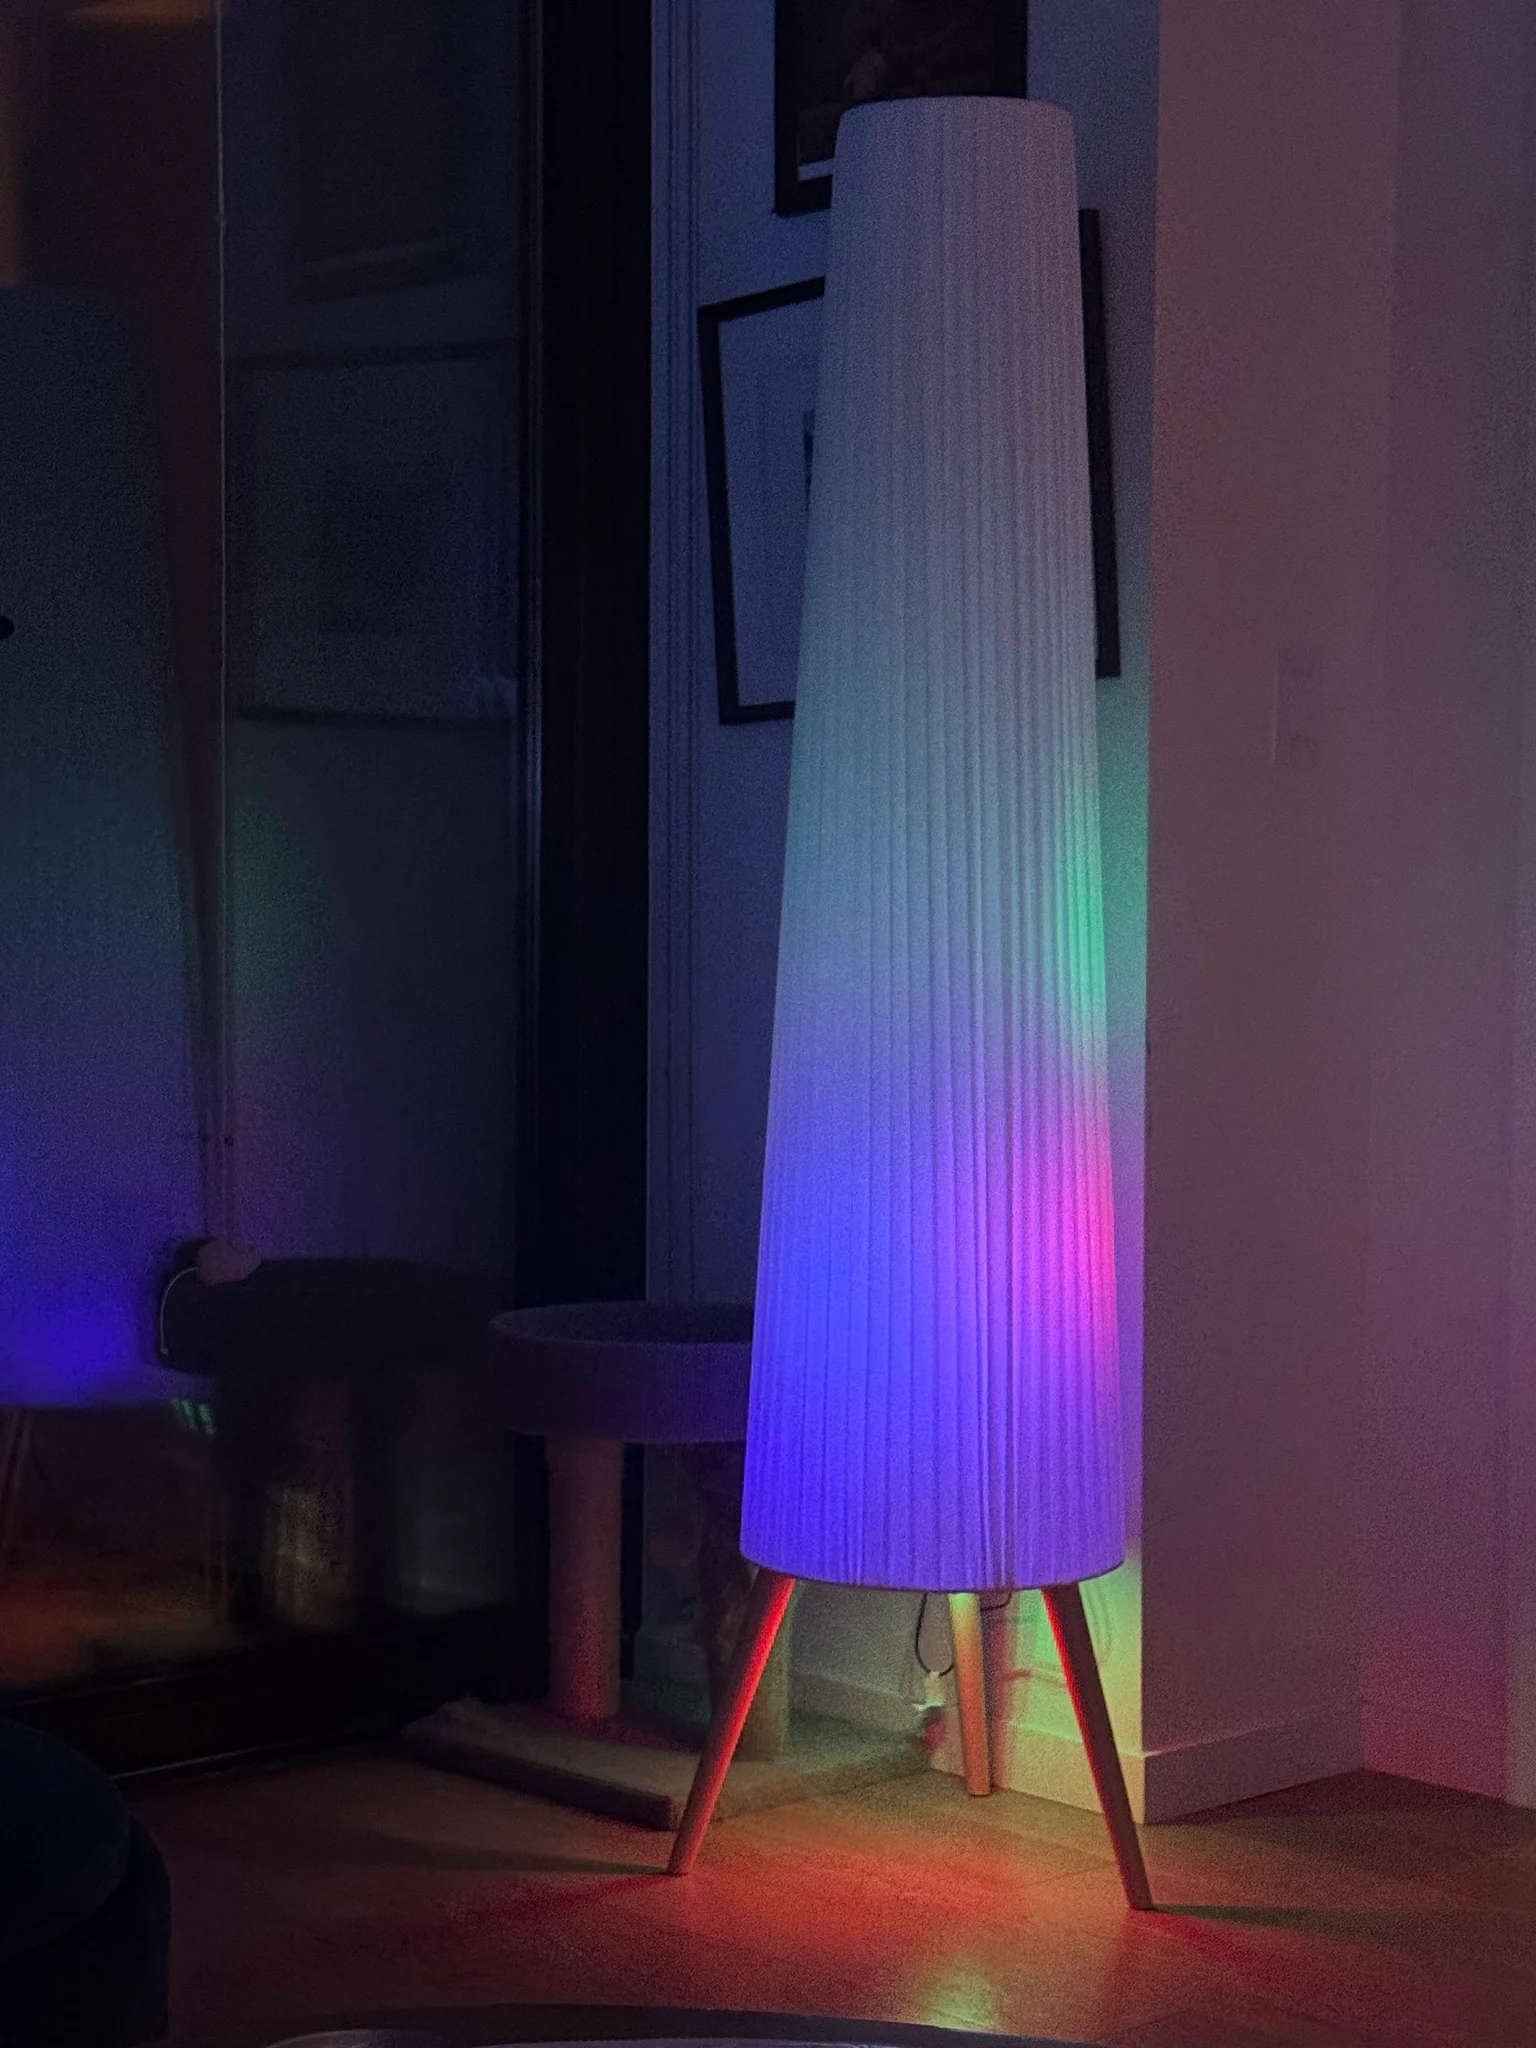
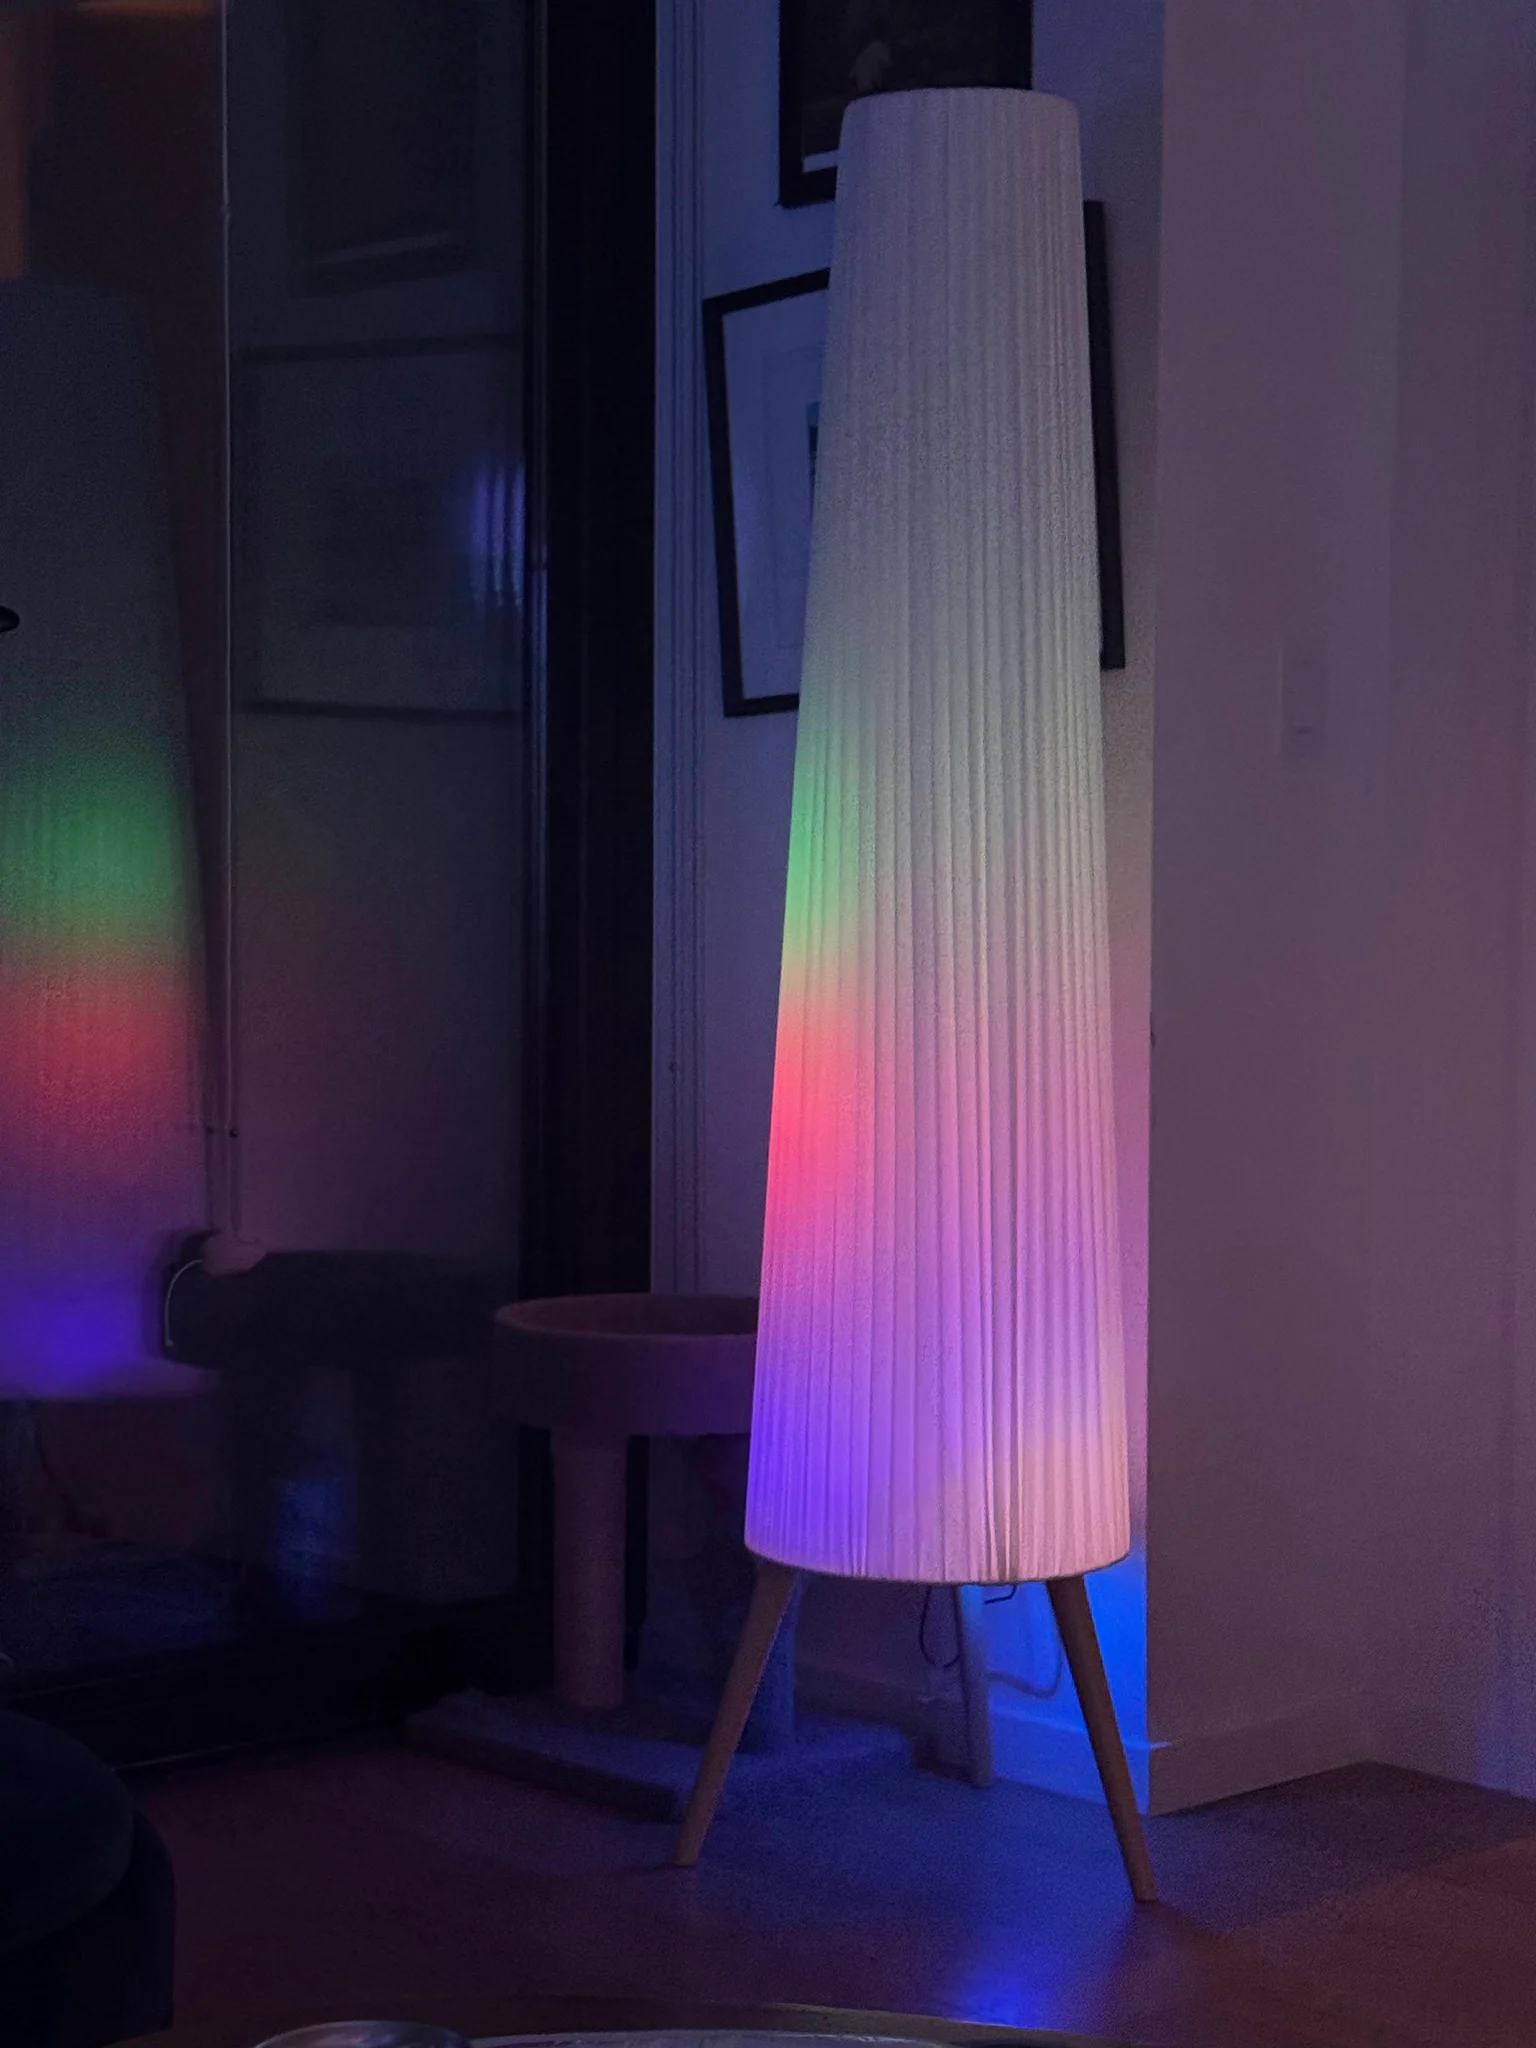
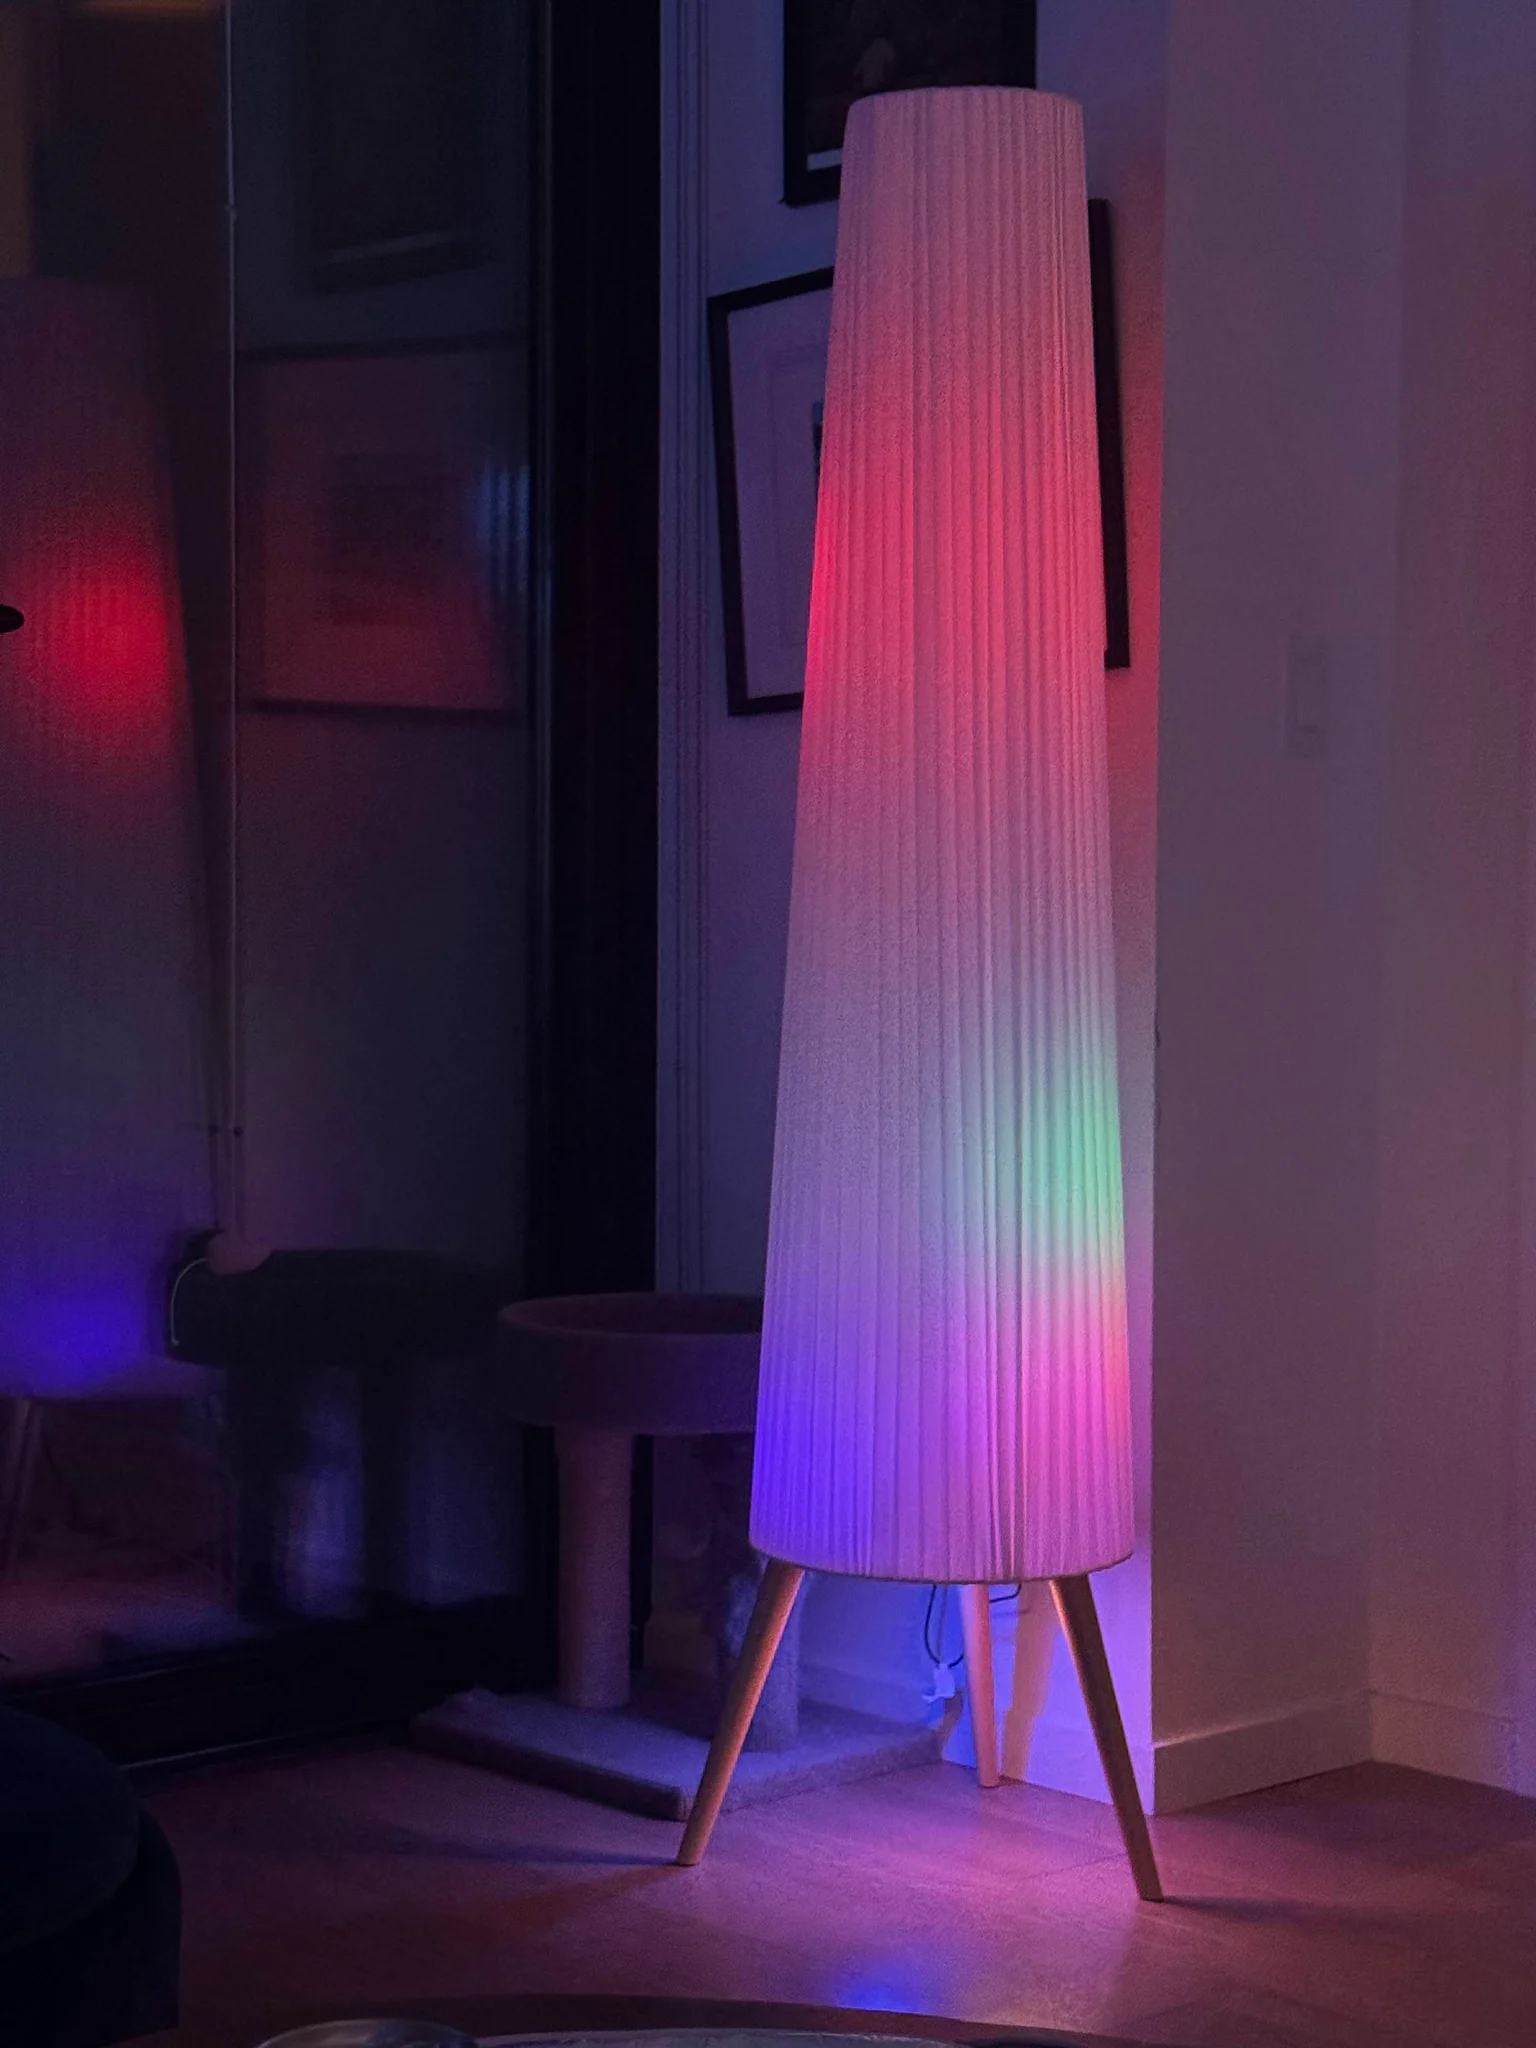
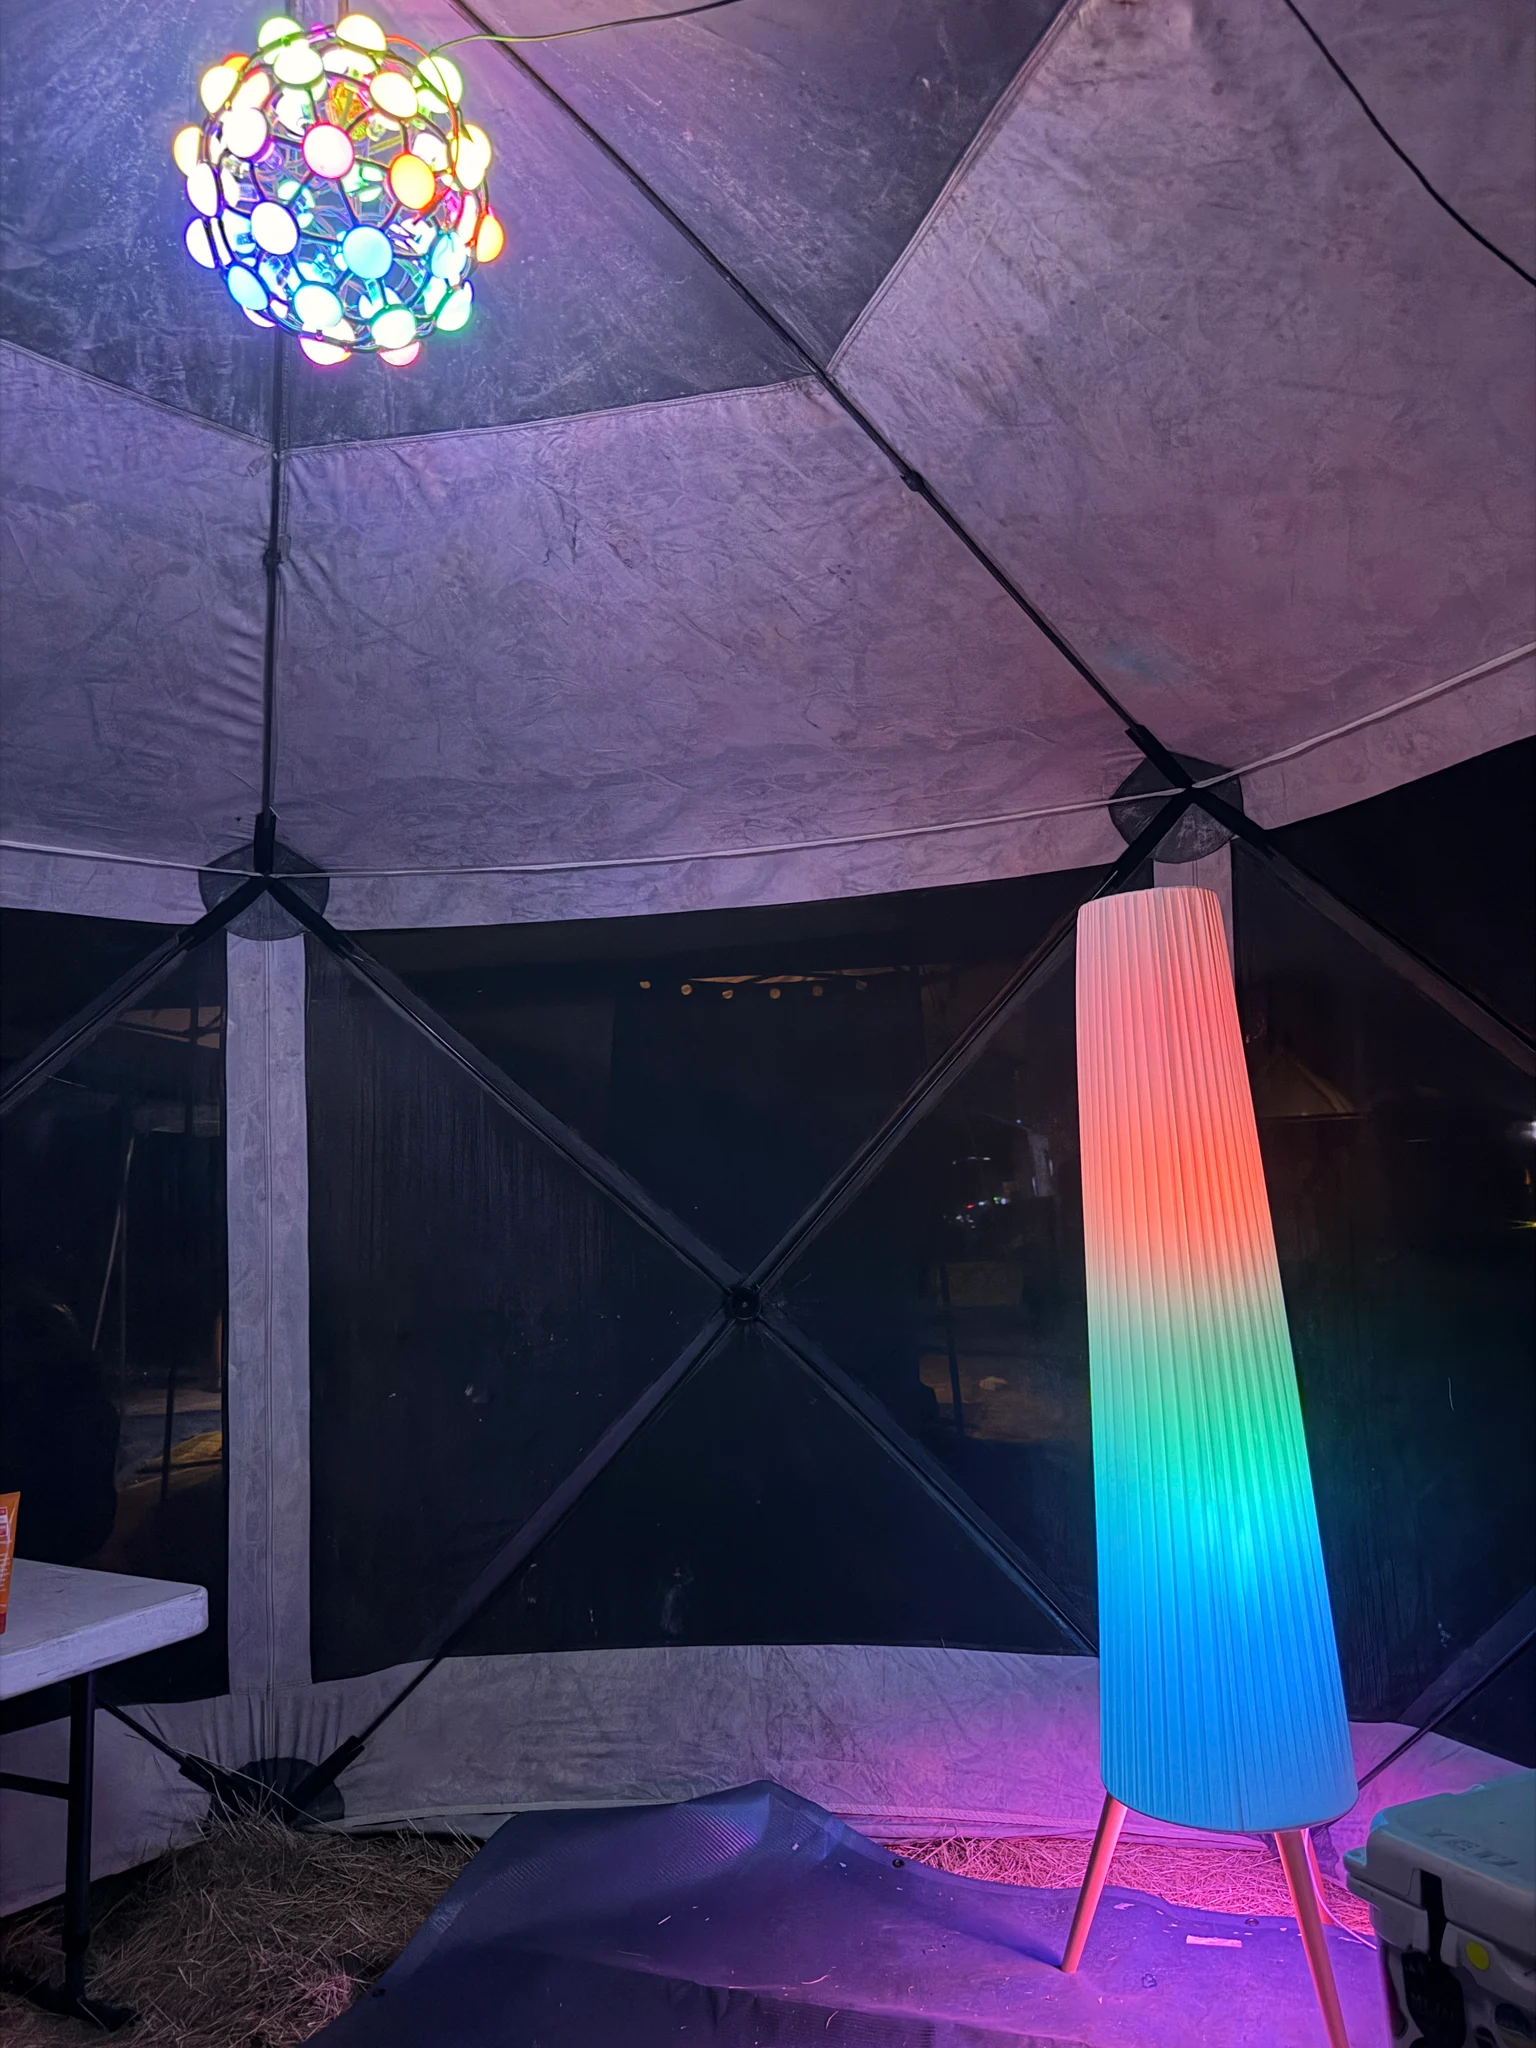
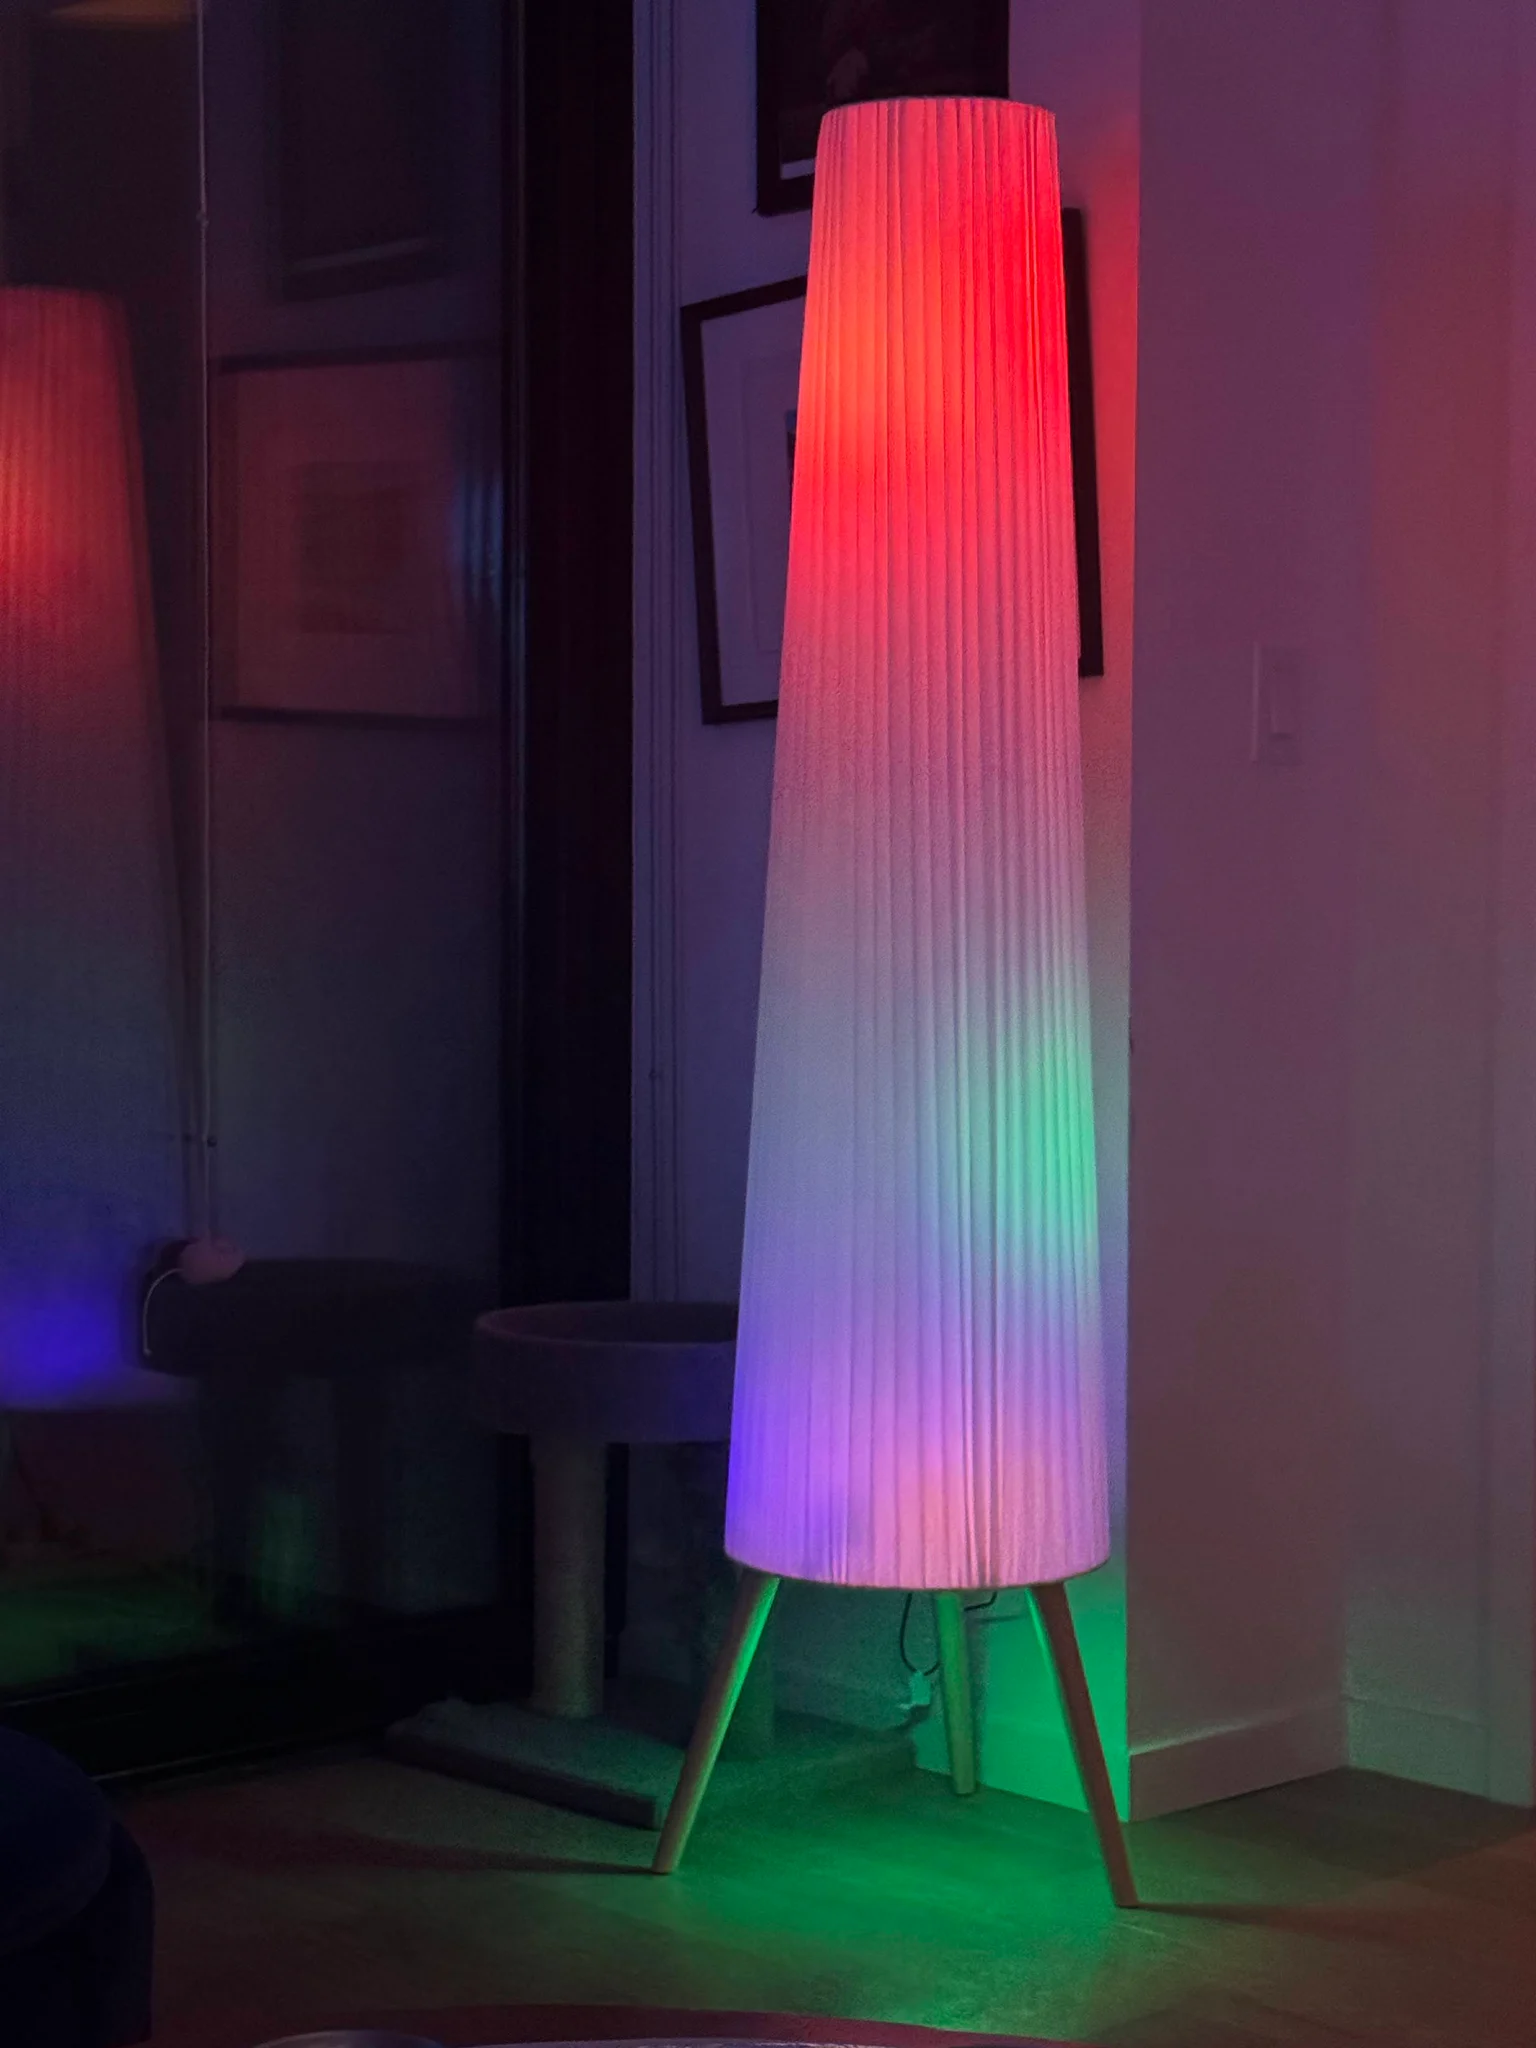
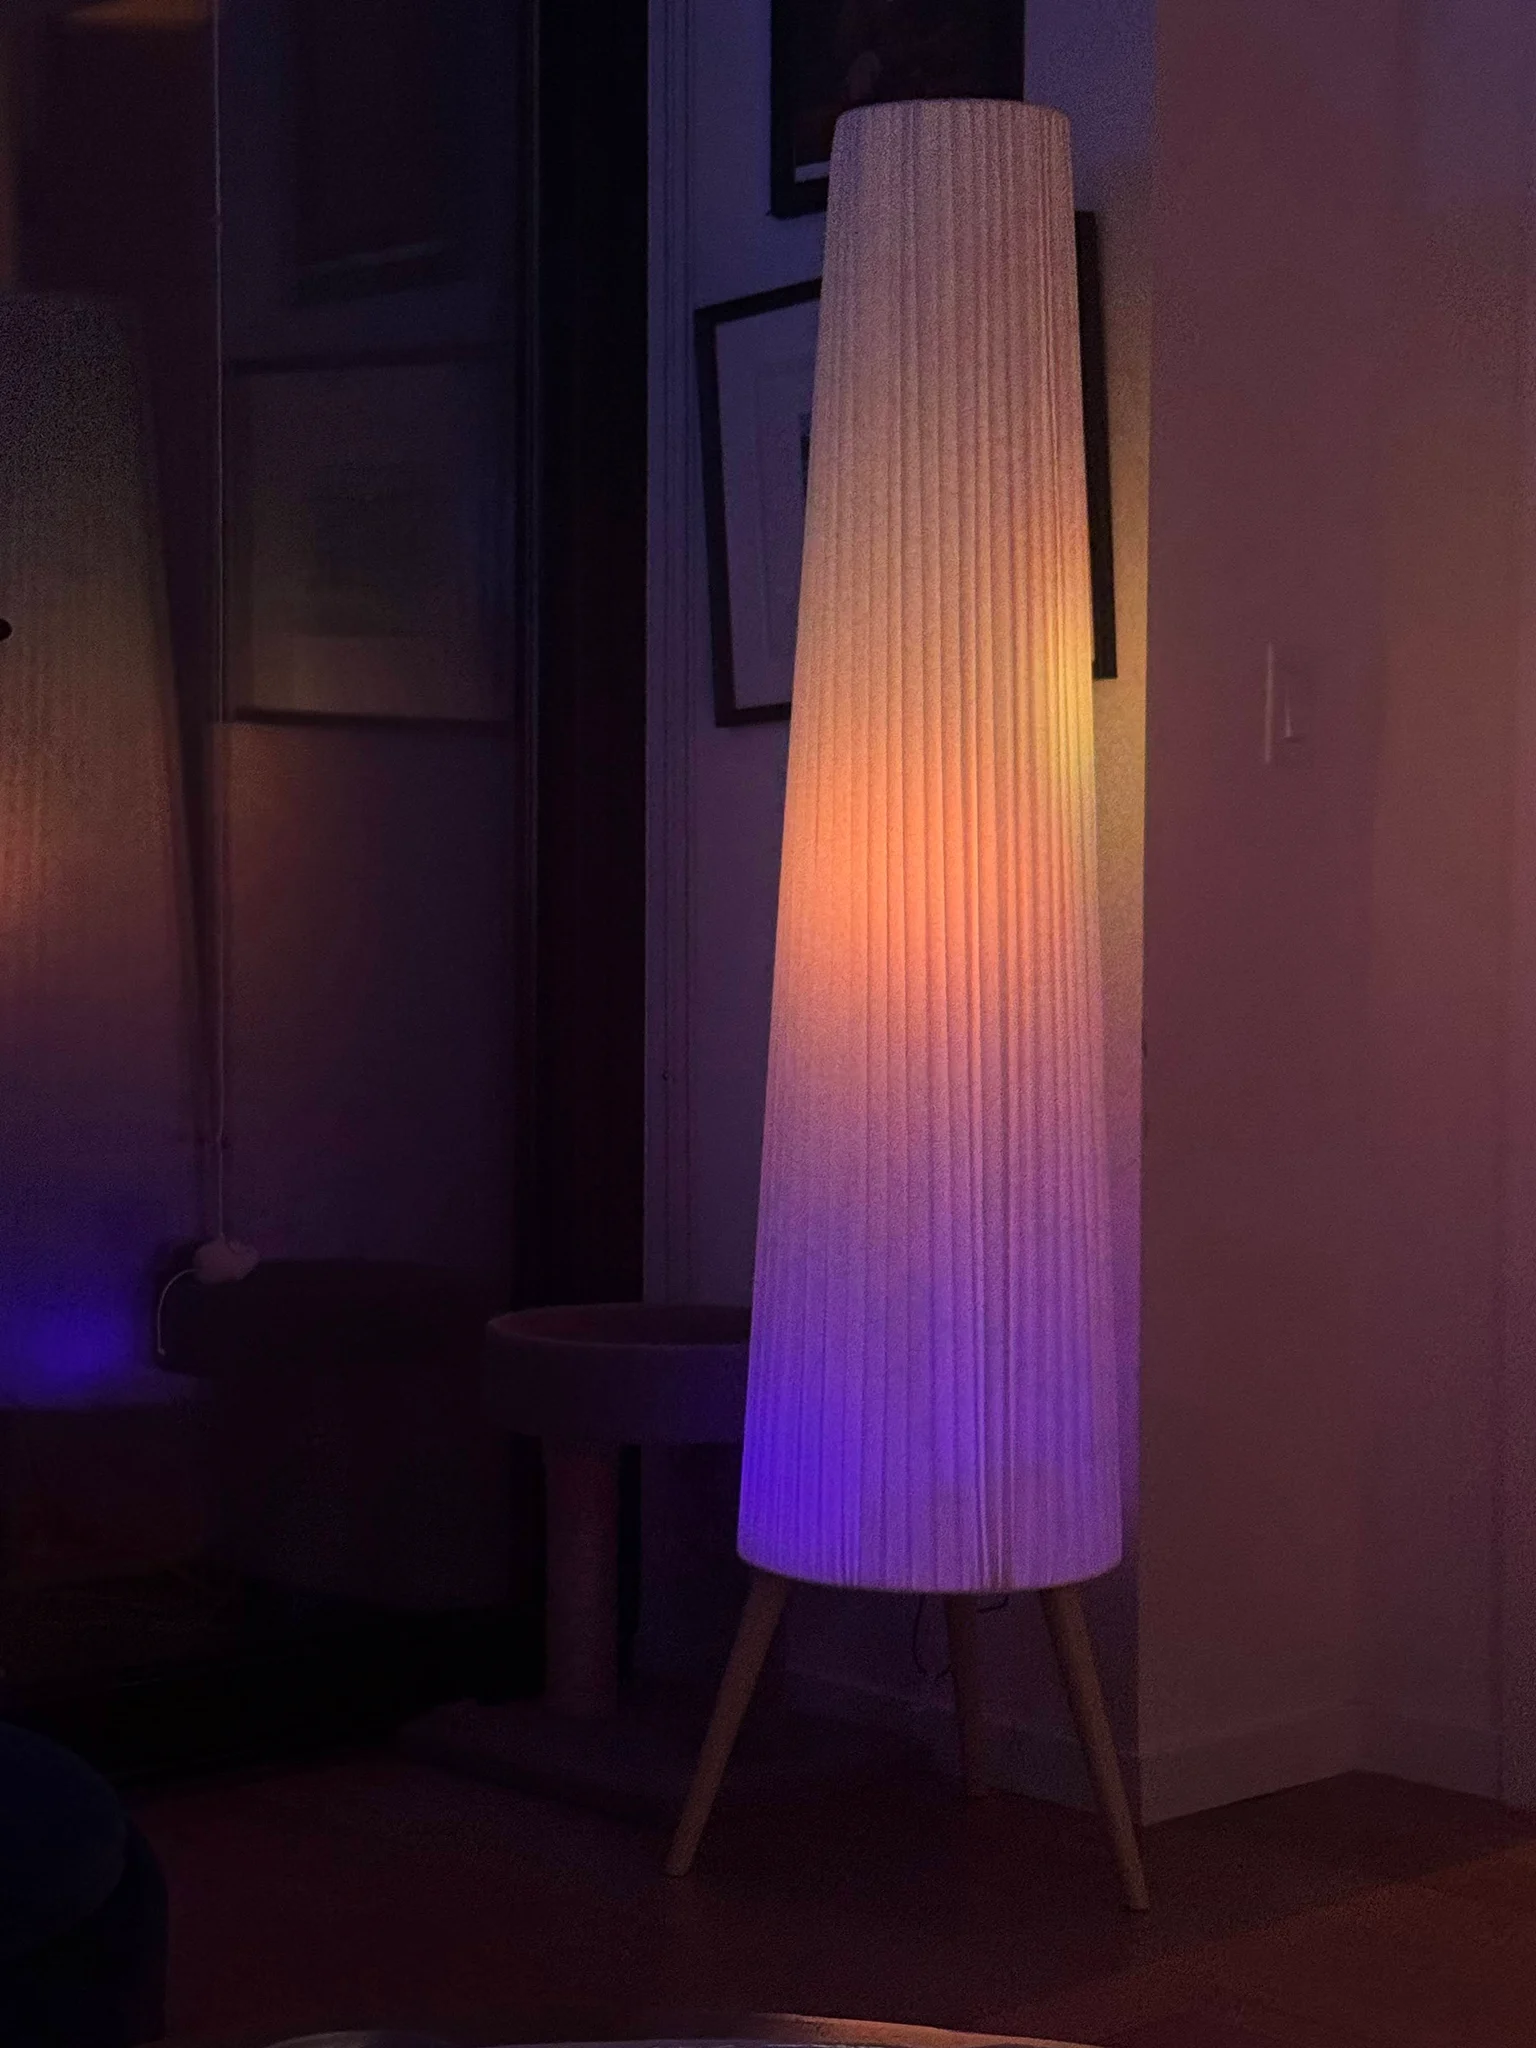
A custom WLED driver turns an IKEA ÖKENSAND floor lamp into an addressable color lamp.
upgrading ikea lamps with wled — finished project

The idea

Upgrading an IKEA ÖKENSAND floor lamp to we WLED compatable

The build

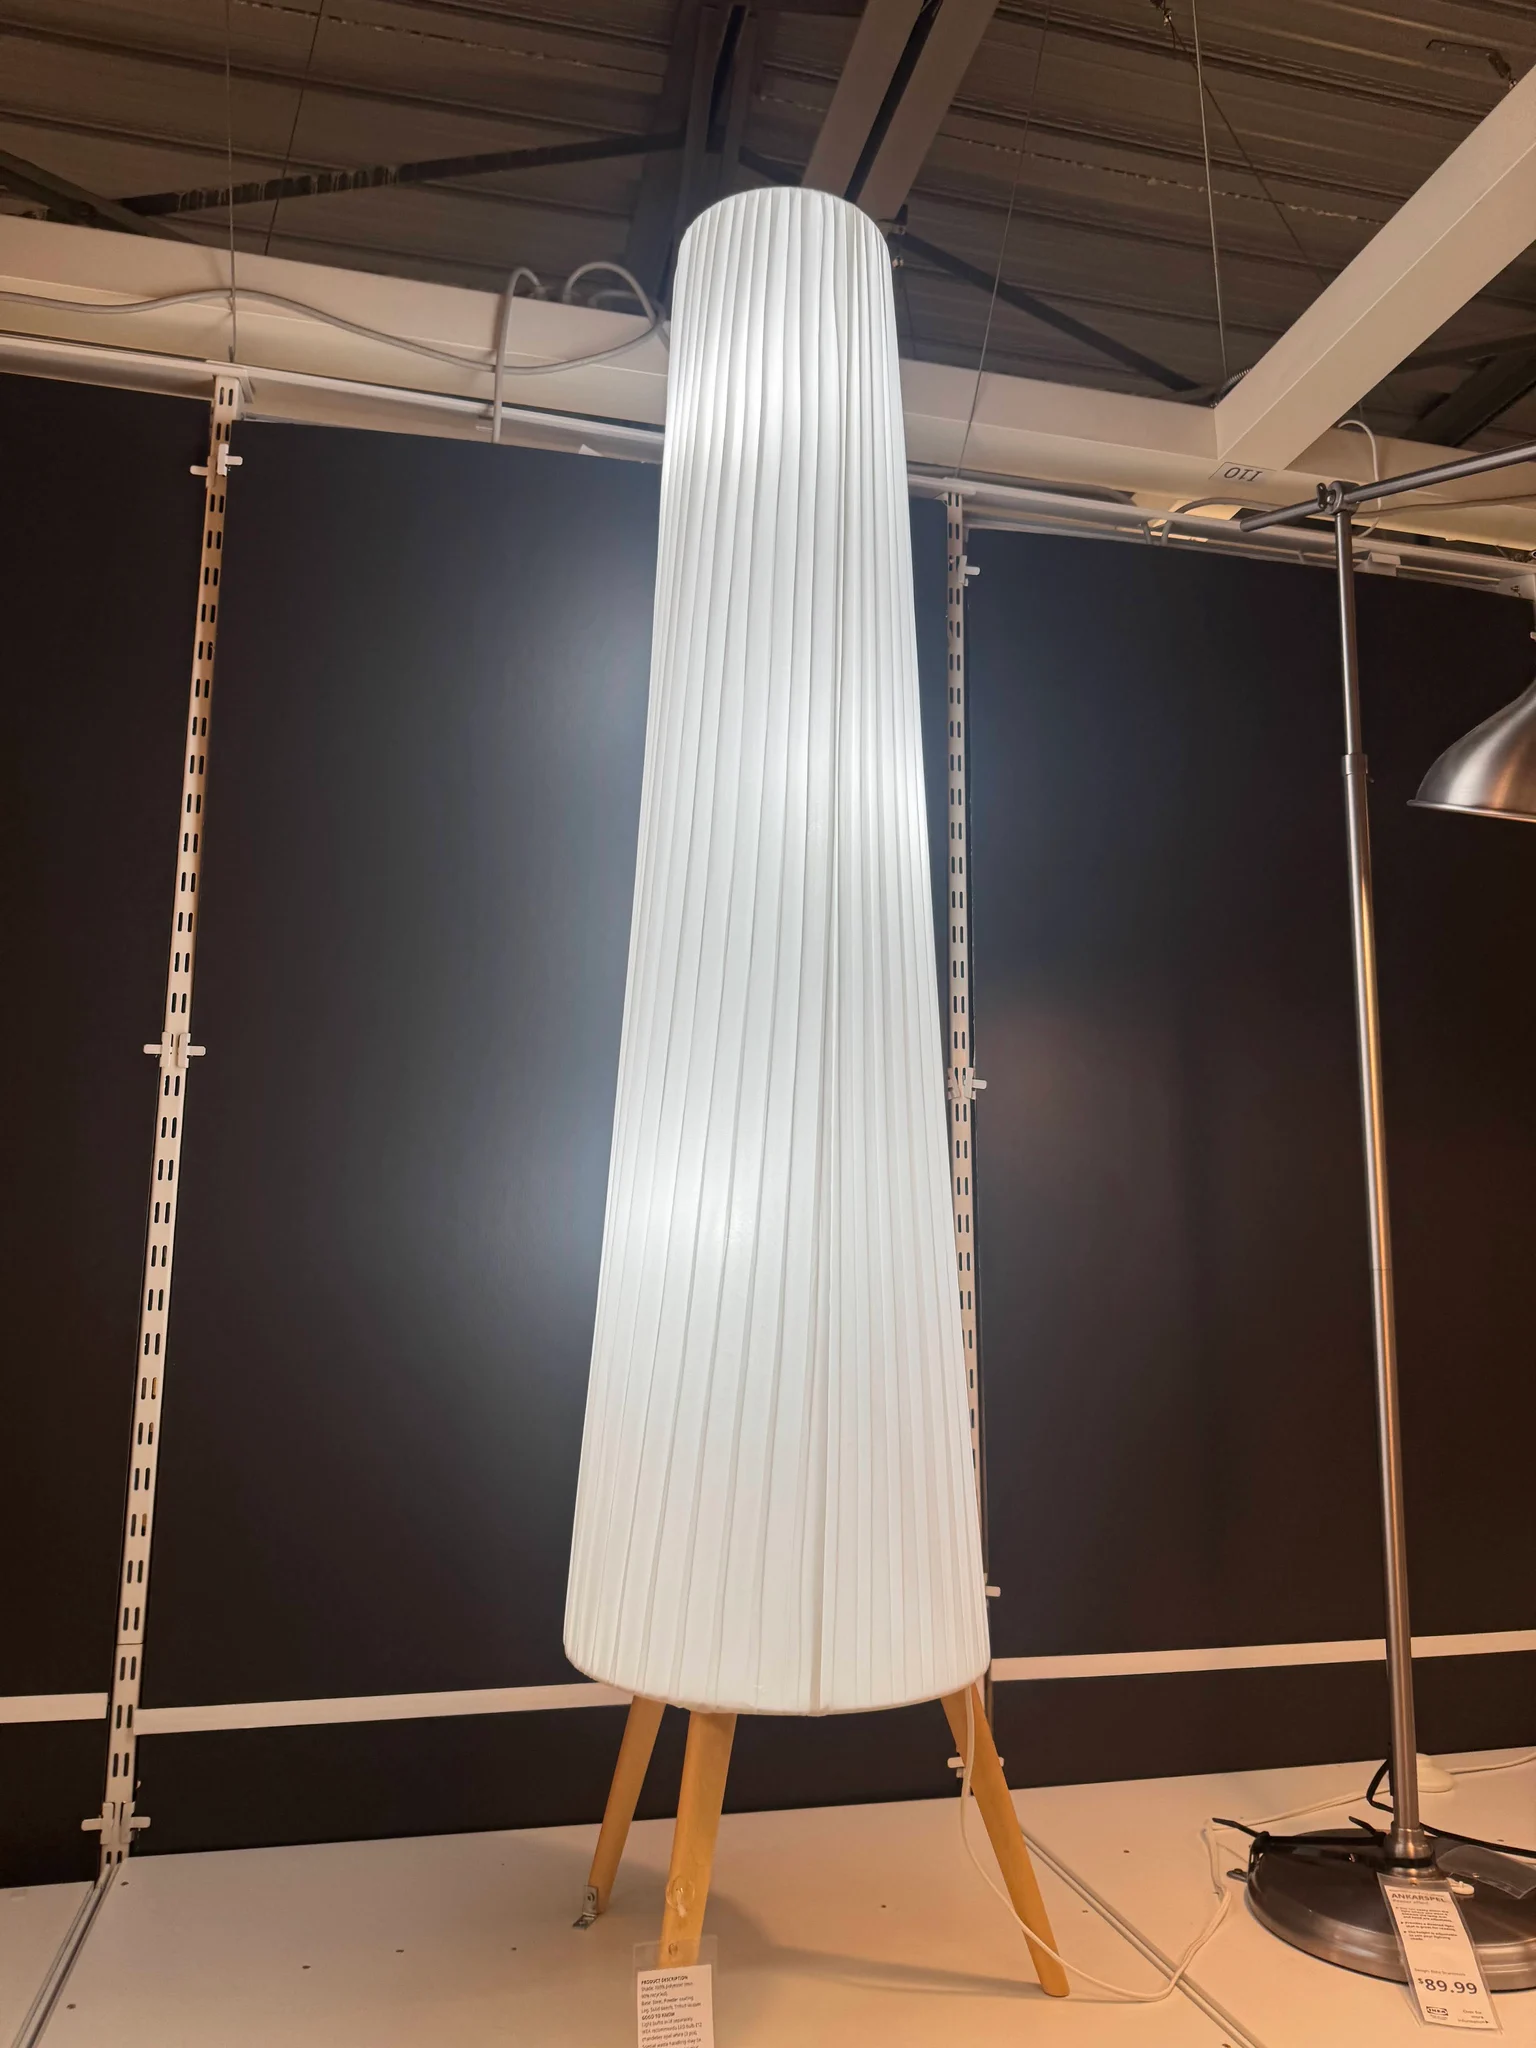
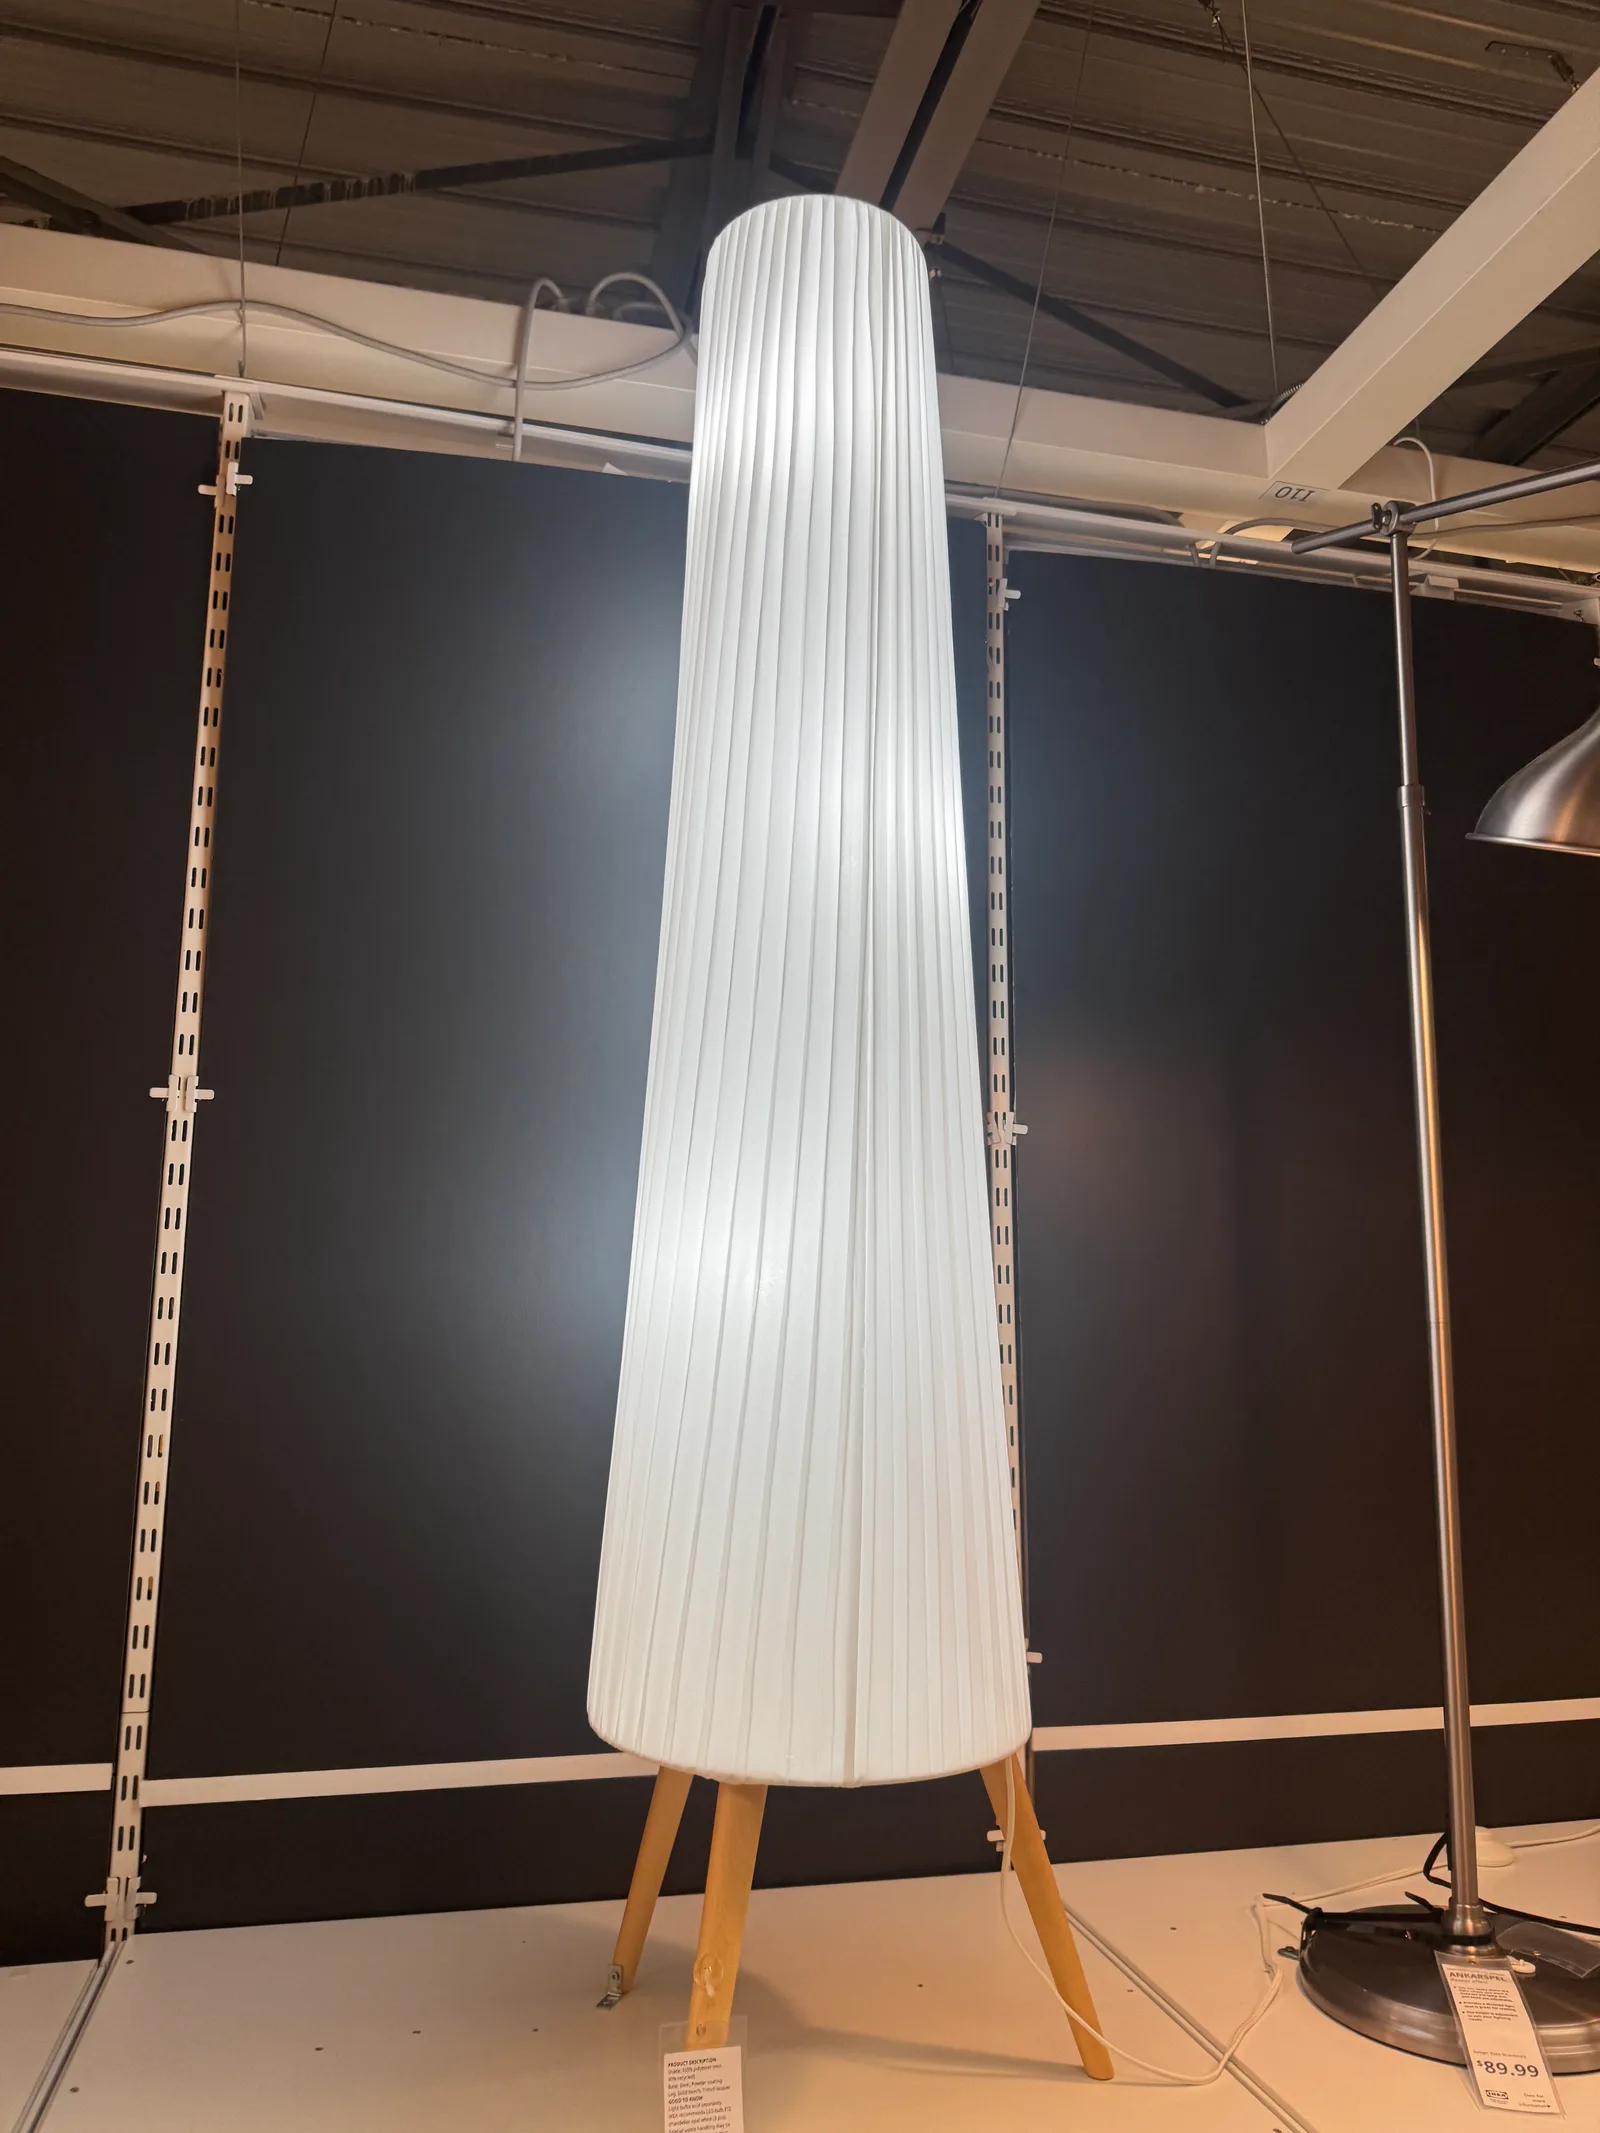
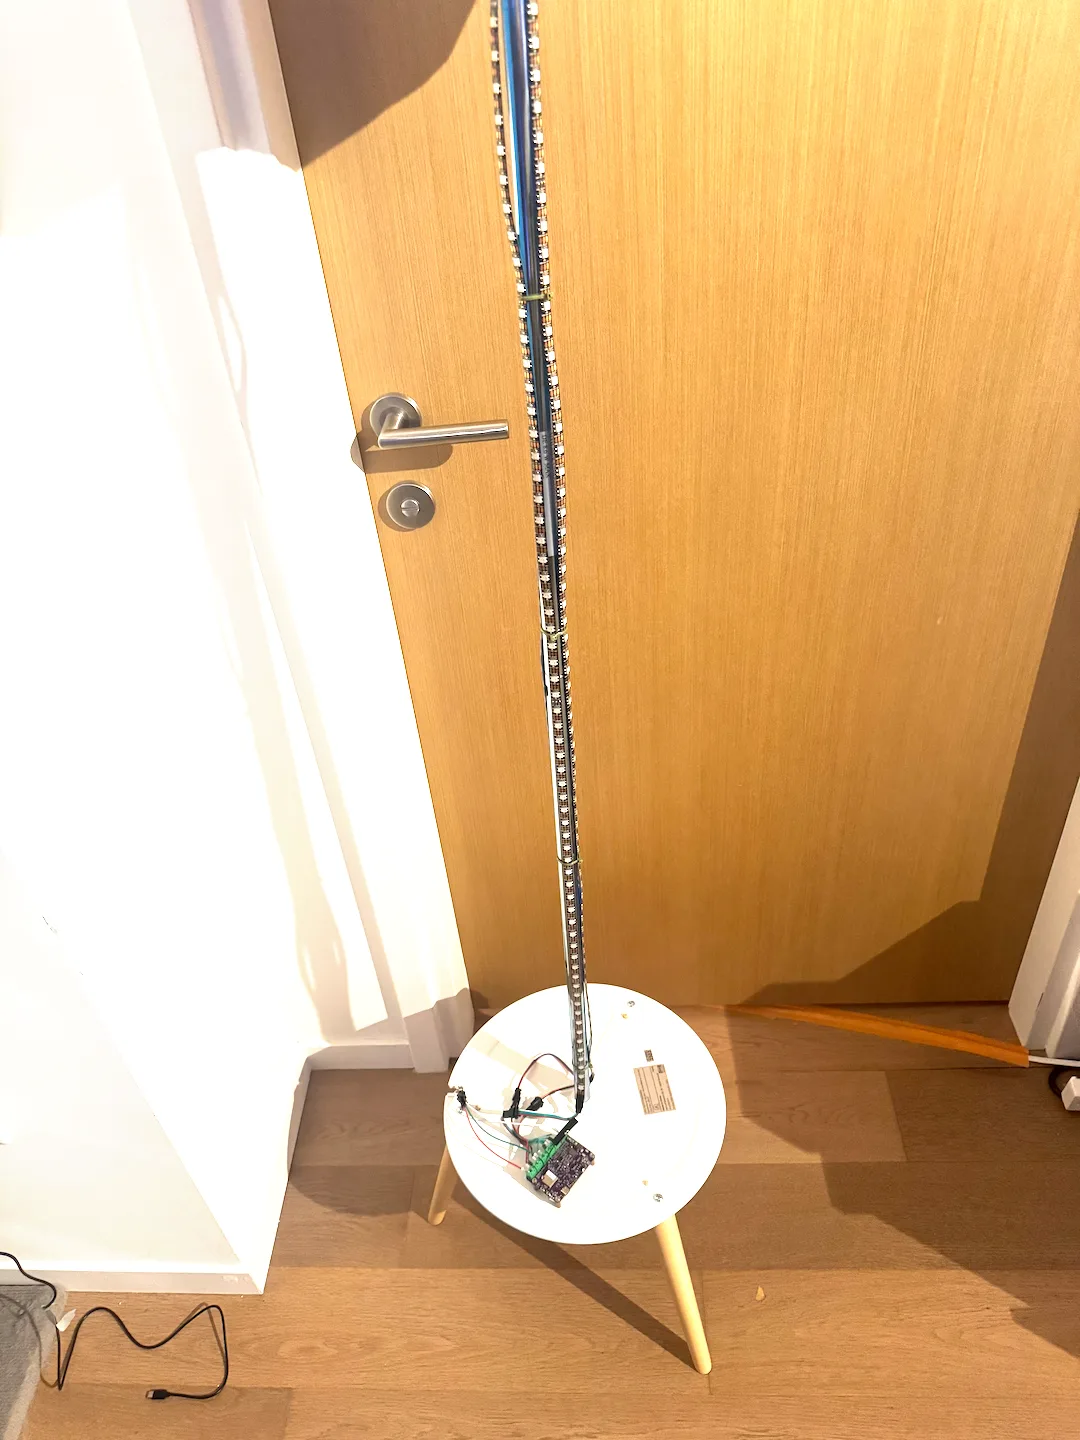
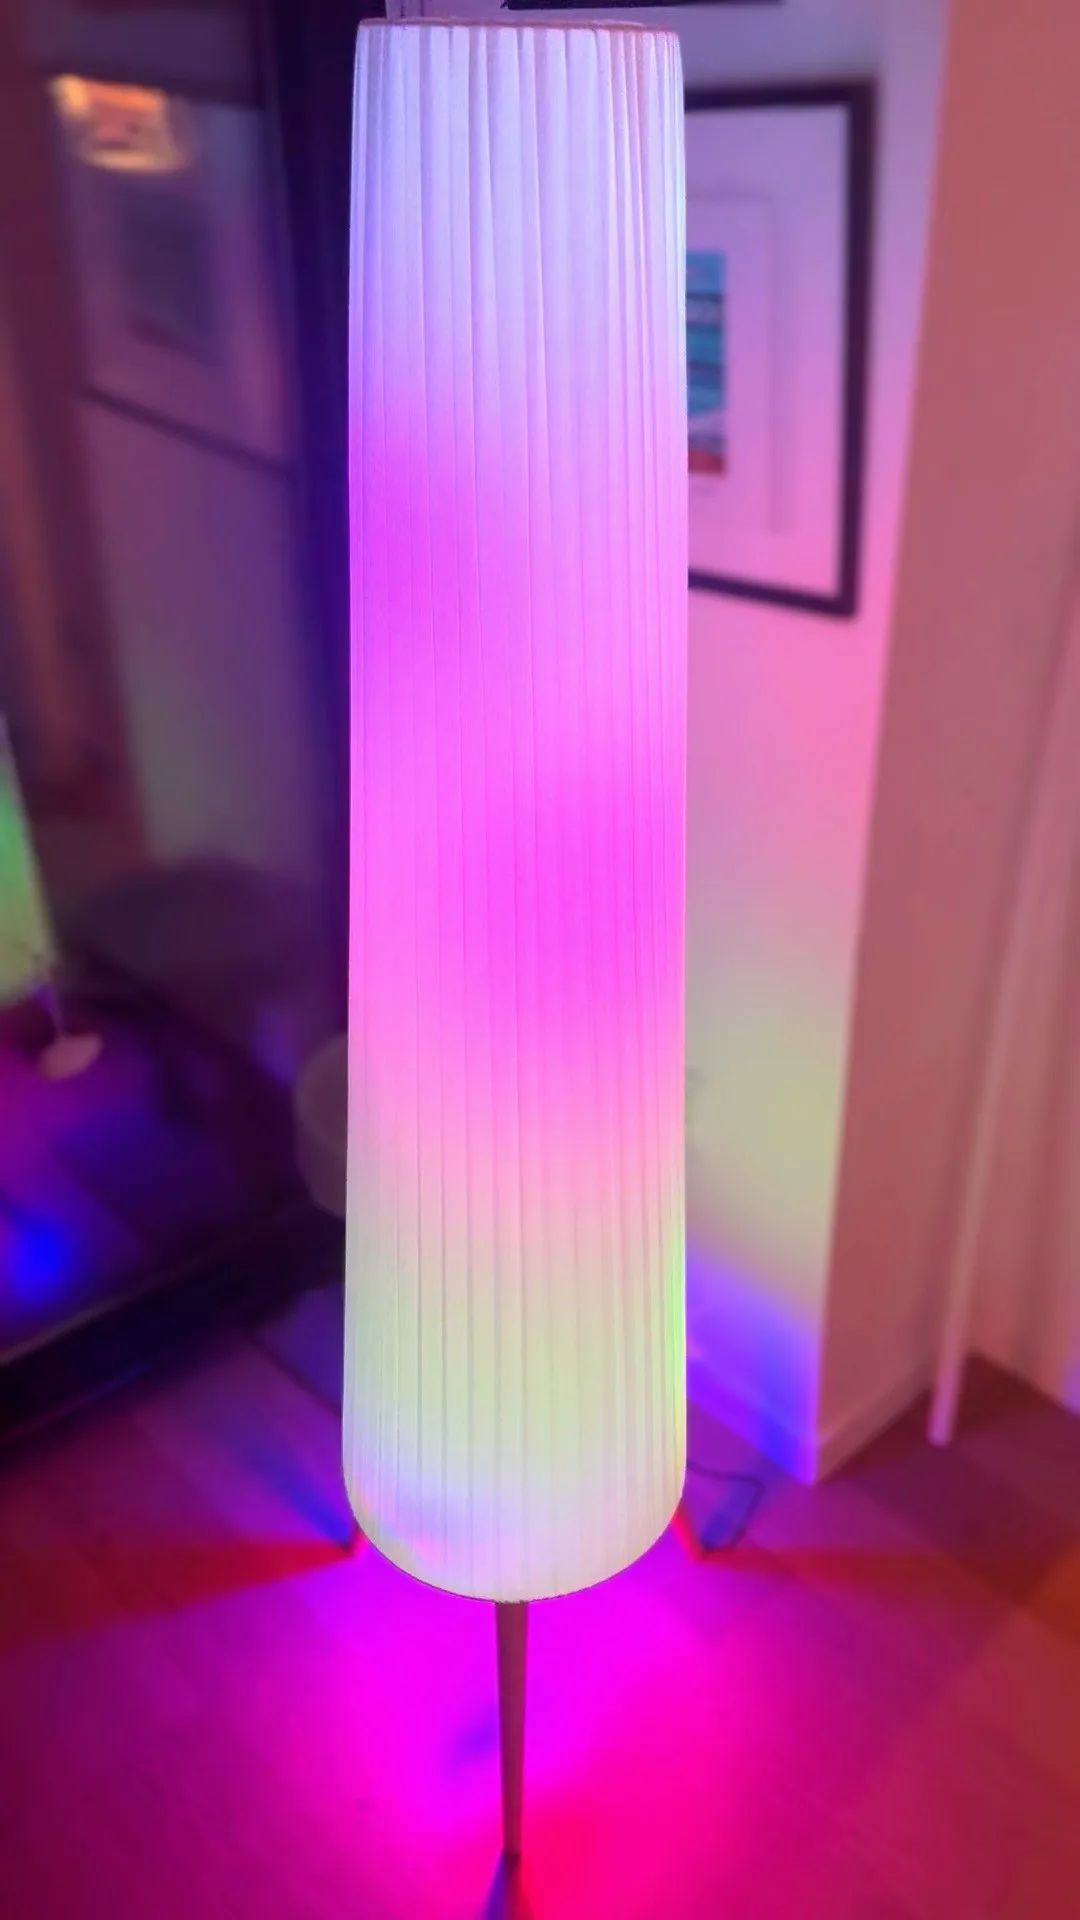
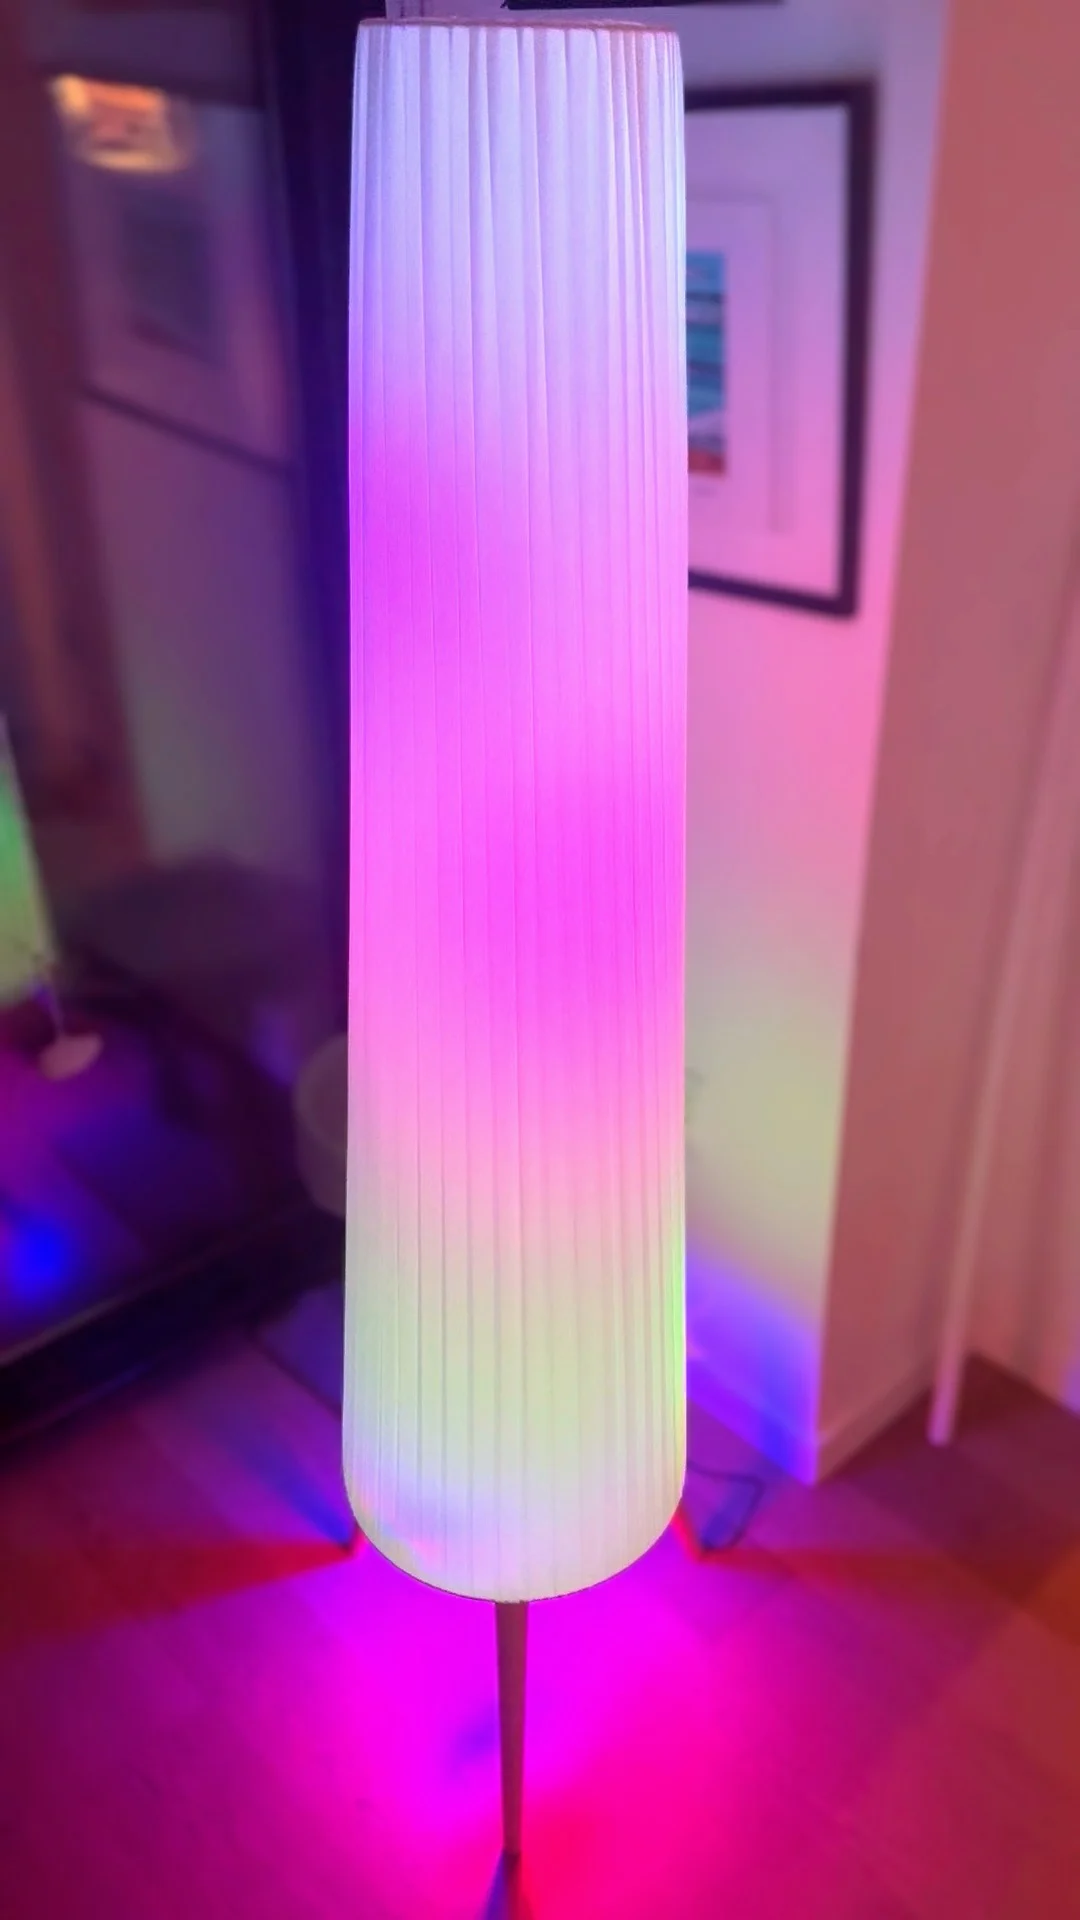
I spotted the IKEA ÖKENSAND floor lamp on a showroom floor — a tall pleated-fabric shade on a simple wood tripod base — and figured the fabric shade would make a great diffuser for addressable LEDs run up through the pole. Rather than bolting on an off-the-shelf controller, I built a custom driver board for it, added an LED ring at the base for uplight, and ran LED strip up inside the pole so the whole shade glows and colors from within, controllable over WLED.

Design notes

  • The pleated fabric shade is the whole reason this lamp works as a build — it diffuses the strip running up the pole into soft, even light instead of showing individual LED dots.
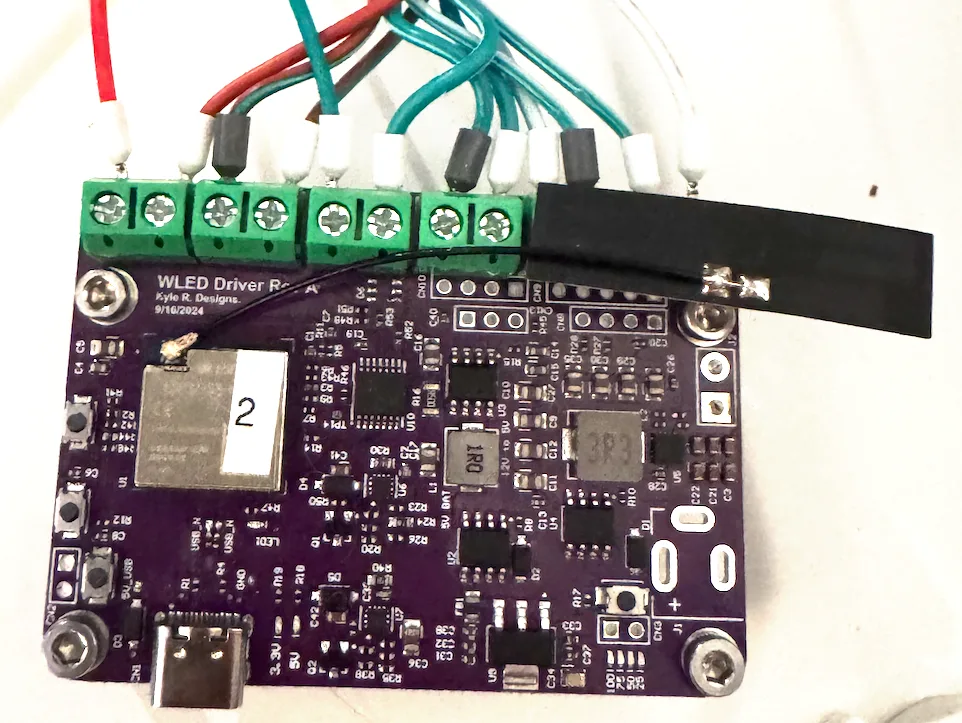
  • The driver is a custom board rather than a generic ESP dev module: ESP32-C3-based, USB-C powered, with screw terminals for the LED runs and a flex antenna, sized and shaped to tuck into the lamp's tripod base rather than hang off the side.
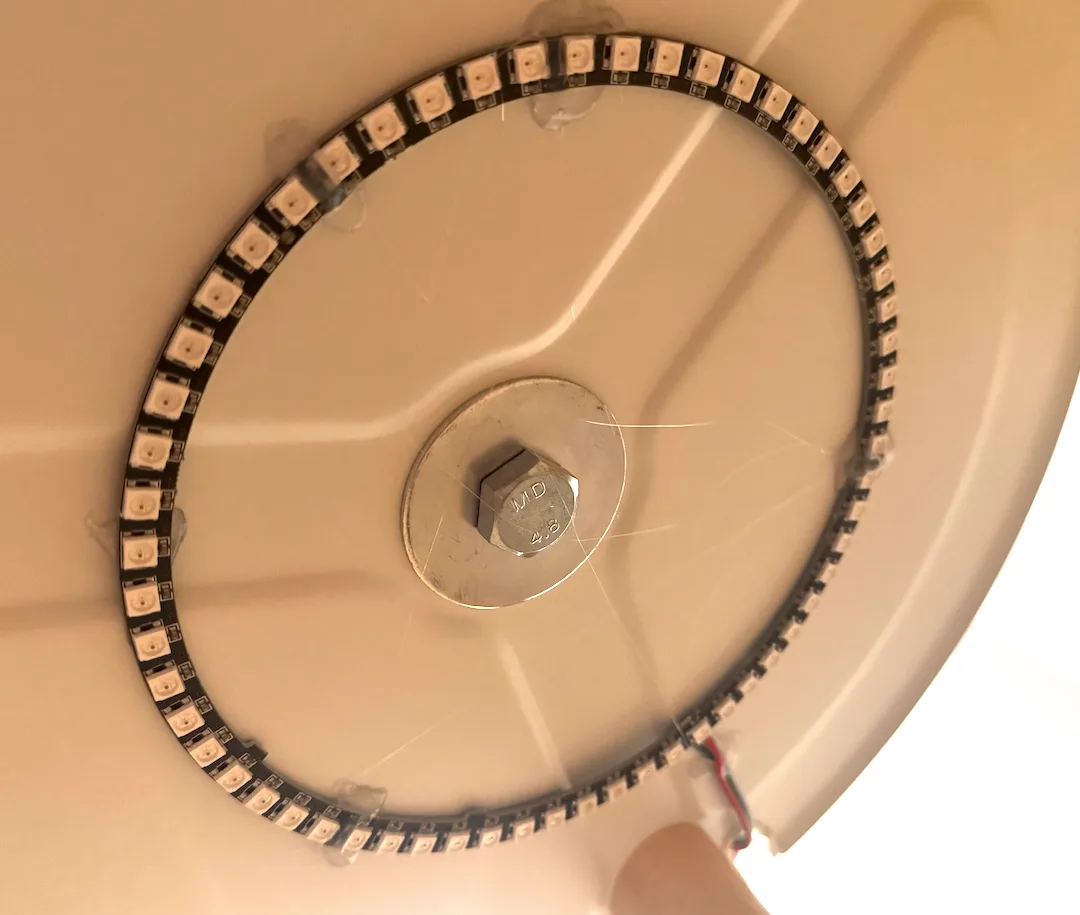
  • LEDs are split into two functionally different runs: an LED ring mounted flat under the base/shade opening for an uplight/glow-through effect, and three segments of WS2812 60 LED/m strip run vertically up the pole for the main color-through-fabric effect.

Bill of Materials

Lamp

  • 1x IKEA ÖKENSAND floor lamp (or similar pleated-fabric-shade floor lamp)

Electronics

  • 1x custom WLED driver board (ESP32-C3, USB-C, screw terminals, external antenna)
  • 1x WS2812B LED ring (~60 LEDs), sized to fit under the lamp's base/shade opening
  • WS2812 LED strip, 60 LEDs/m — 3 segments run up the length of the pole
  • Connectors/wire between strip segments (the pole run isn't one continuous piece)
  • 5V power supply sized to the total LED count (ring + 3 pole segments)

Assembly

  • Double-sided adhesive dots or similar, to mount the LED ring
  • Center bolt/nut (mounting point matching the lamp's existing base hardware)
  • Zip ties or clips to route the strip cleanly up the inside of the pole

Tools

  • Soldering iron + solder
  • Screwdriver (for disassembling the lamp base)
  • Multimeter, for checking continuity between strip segments

Build Instructions

1. Disassemble the lamp — Remove the fabric shade from the base/pole assembly to get access for wiring.

2. Mount the driver board — Secure the custom WLED driver inside or under the tripod base, with the antenna positioned for clear signal once reassembled.

3. Install the LED ring — Adhere the WS2812 ring to the underside of the base/shade opening, centered on the lamp's existing mounting bolt, and wire it back to the driver.

4. Run the pole strip — Route three segments of WS2812 60 LED/m strip up the inside of the pole, wiring each segment to the next in series (data, 5V, GND) up to the driver at the base.

5. Reassemble the shade — Fit the fabric shade back over the pole and base, checking that the strip and ring are positioned to diffuse evenly through the fabric.

6. Flash WLED — Load WLED onto the driver board and configure the ring and pole strips as segments (together or independent, your call).

7. Power on and test — Confirm every LED addresses correctly through the fabric before calling it done, then set your effects/colors in the WLED app.
upgrading ikea lamps with wled — project detail 1upgrading ikea lamps with wled — project detail 2upgrading ikea lamps with wled — project detail 3upgrading ikea lamps with wled — project detail 4upgrading ikea lamps with wled — project detail 5upgrading ikea lamps with wled — project detail 6upgrading ikea lamps with wled — project detail 7Upgrading IKEA Lamps with WLEDUpgrading IKEA Lamps with WLEDUpgrading IKEA Lamps with WLEDUpgrading IKEA Lamps with WLEDUpgrading IKEA Lamps with WLED
Original on Hackaday ↗