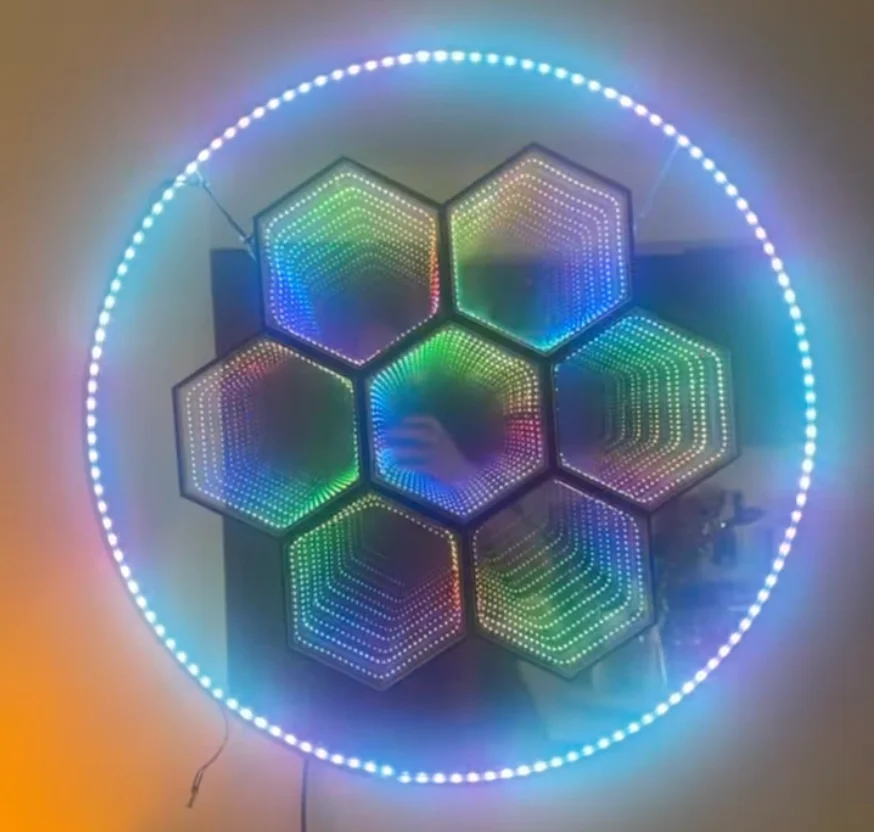
Mirror & LEDs
- 1x large round mirror (the donor mirror being upcycled)
- WS2812B 2020 Ultra-Narrow LED strip, 2.7mm wide, 160 LEDs/m — 5m reel (link)
- WS2812B COB LED strip, 160 LEDs/m — 2m (outer halo ring)
- 80% reflective one-way mirror film (link) or similar
Printed & Cut Parts
- Qty 7 —
hex_mirror_segment.stl, printed in Black PLA, 0.2mm layer height
- Qty 7 — hexagon panels cut from 6mm acrylic sheet, using
hex_mirror_segment.step as the template
hex_array.step — reference for the honeycomb layout when joining the 7 frames
Hardware
- M3x8mm bolts — joins adjacent hex frames along their shared edges
- Picture frame wire (+ 2 D-rings or screw eyes) — hangs the assembled cluster on the mirror
Electronics
- ESP32 dev board (running WLED)
- 5V power supply — size to your total LED count (WS2812 draws up to ~60mA/LED at full white; this build runs well over 1000 LEDs across the 7 cells + ring, so plan for a beefy supply and inject power at more than one point on long runs)
- Level shifter (3.3V → 5V data), recommended for reliable signal on long WS2812 runs
- 22–24AWG wire, connectors of your choice for power/data runs
Tools & Consumables
- Laser cutter or acrylic-cutting service
- Screwdriver / hex driver for M3 bolts
- Hot glue / super glue or E6000 (film application, wire strain relief)
Build Instructions
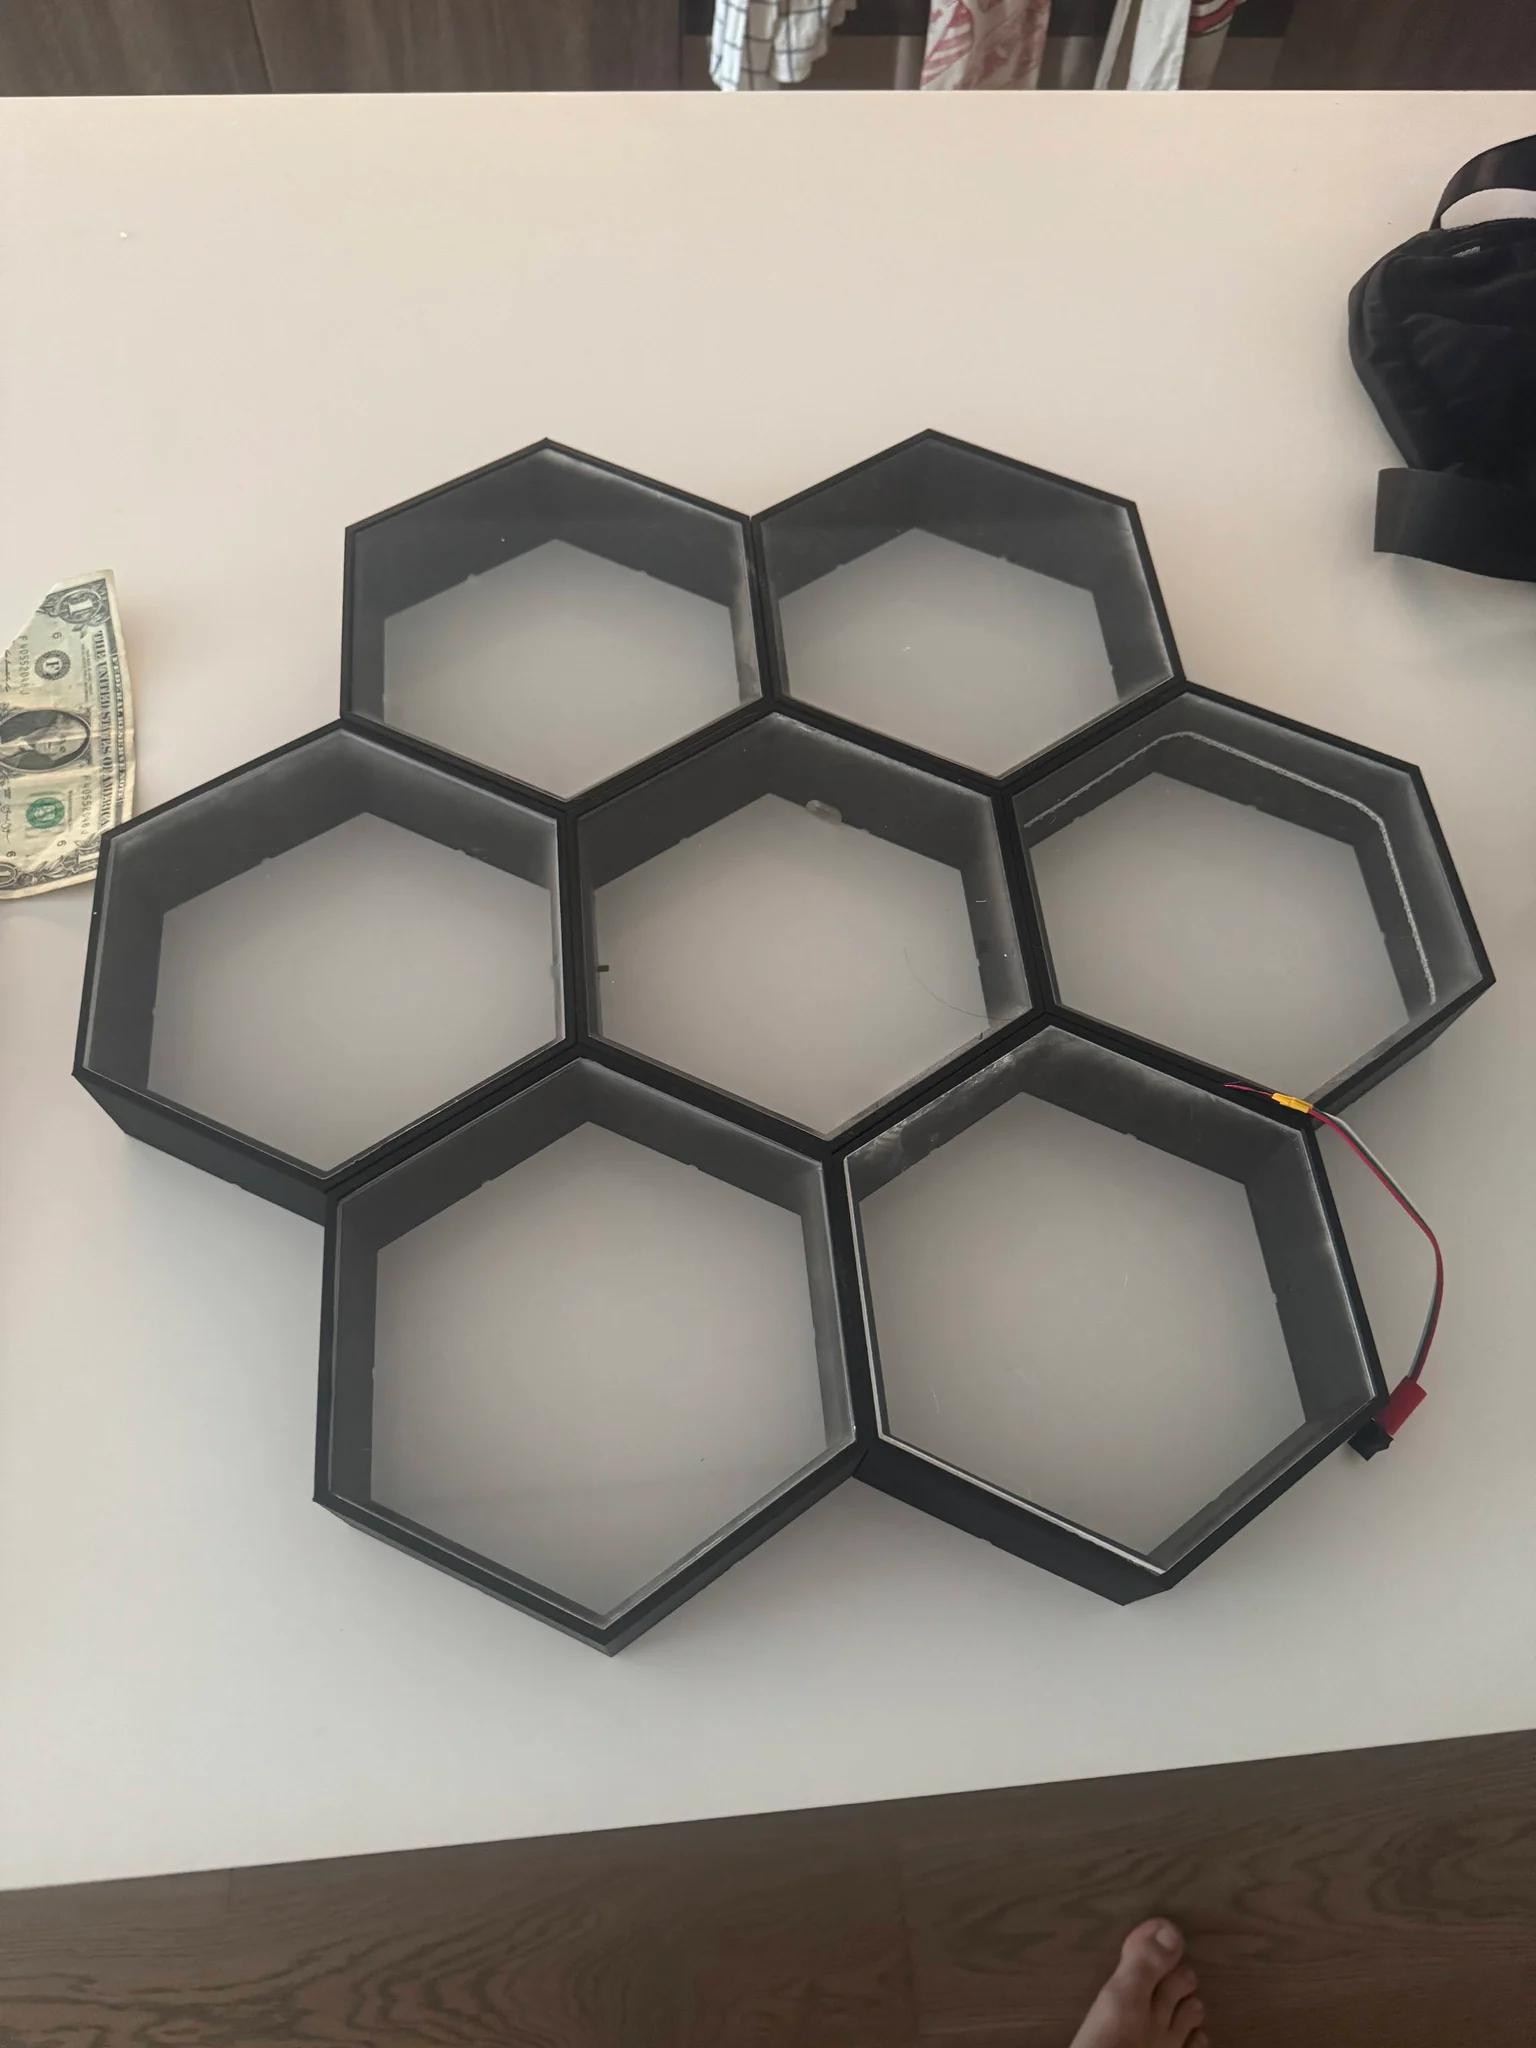
1. Print the frames — 7x hex_mirror_segment.stl in Black PLA, 0.2mm layers. Dry-fit a scrap of LED strip in the channel before committing to a full print run.
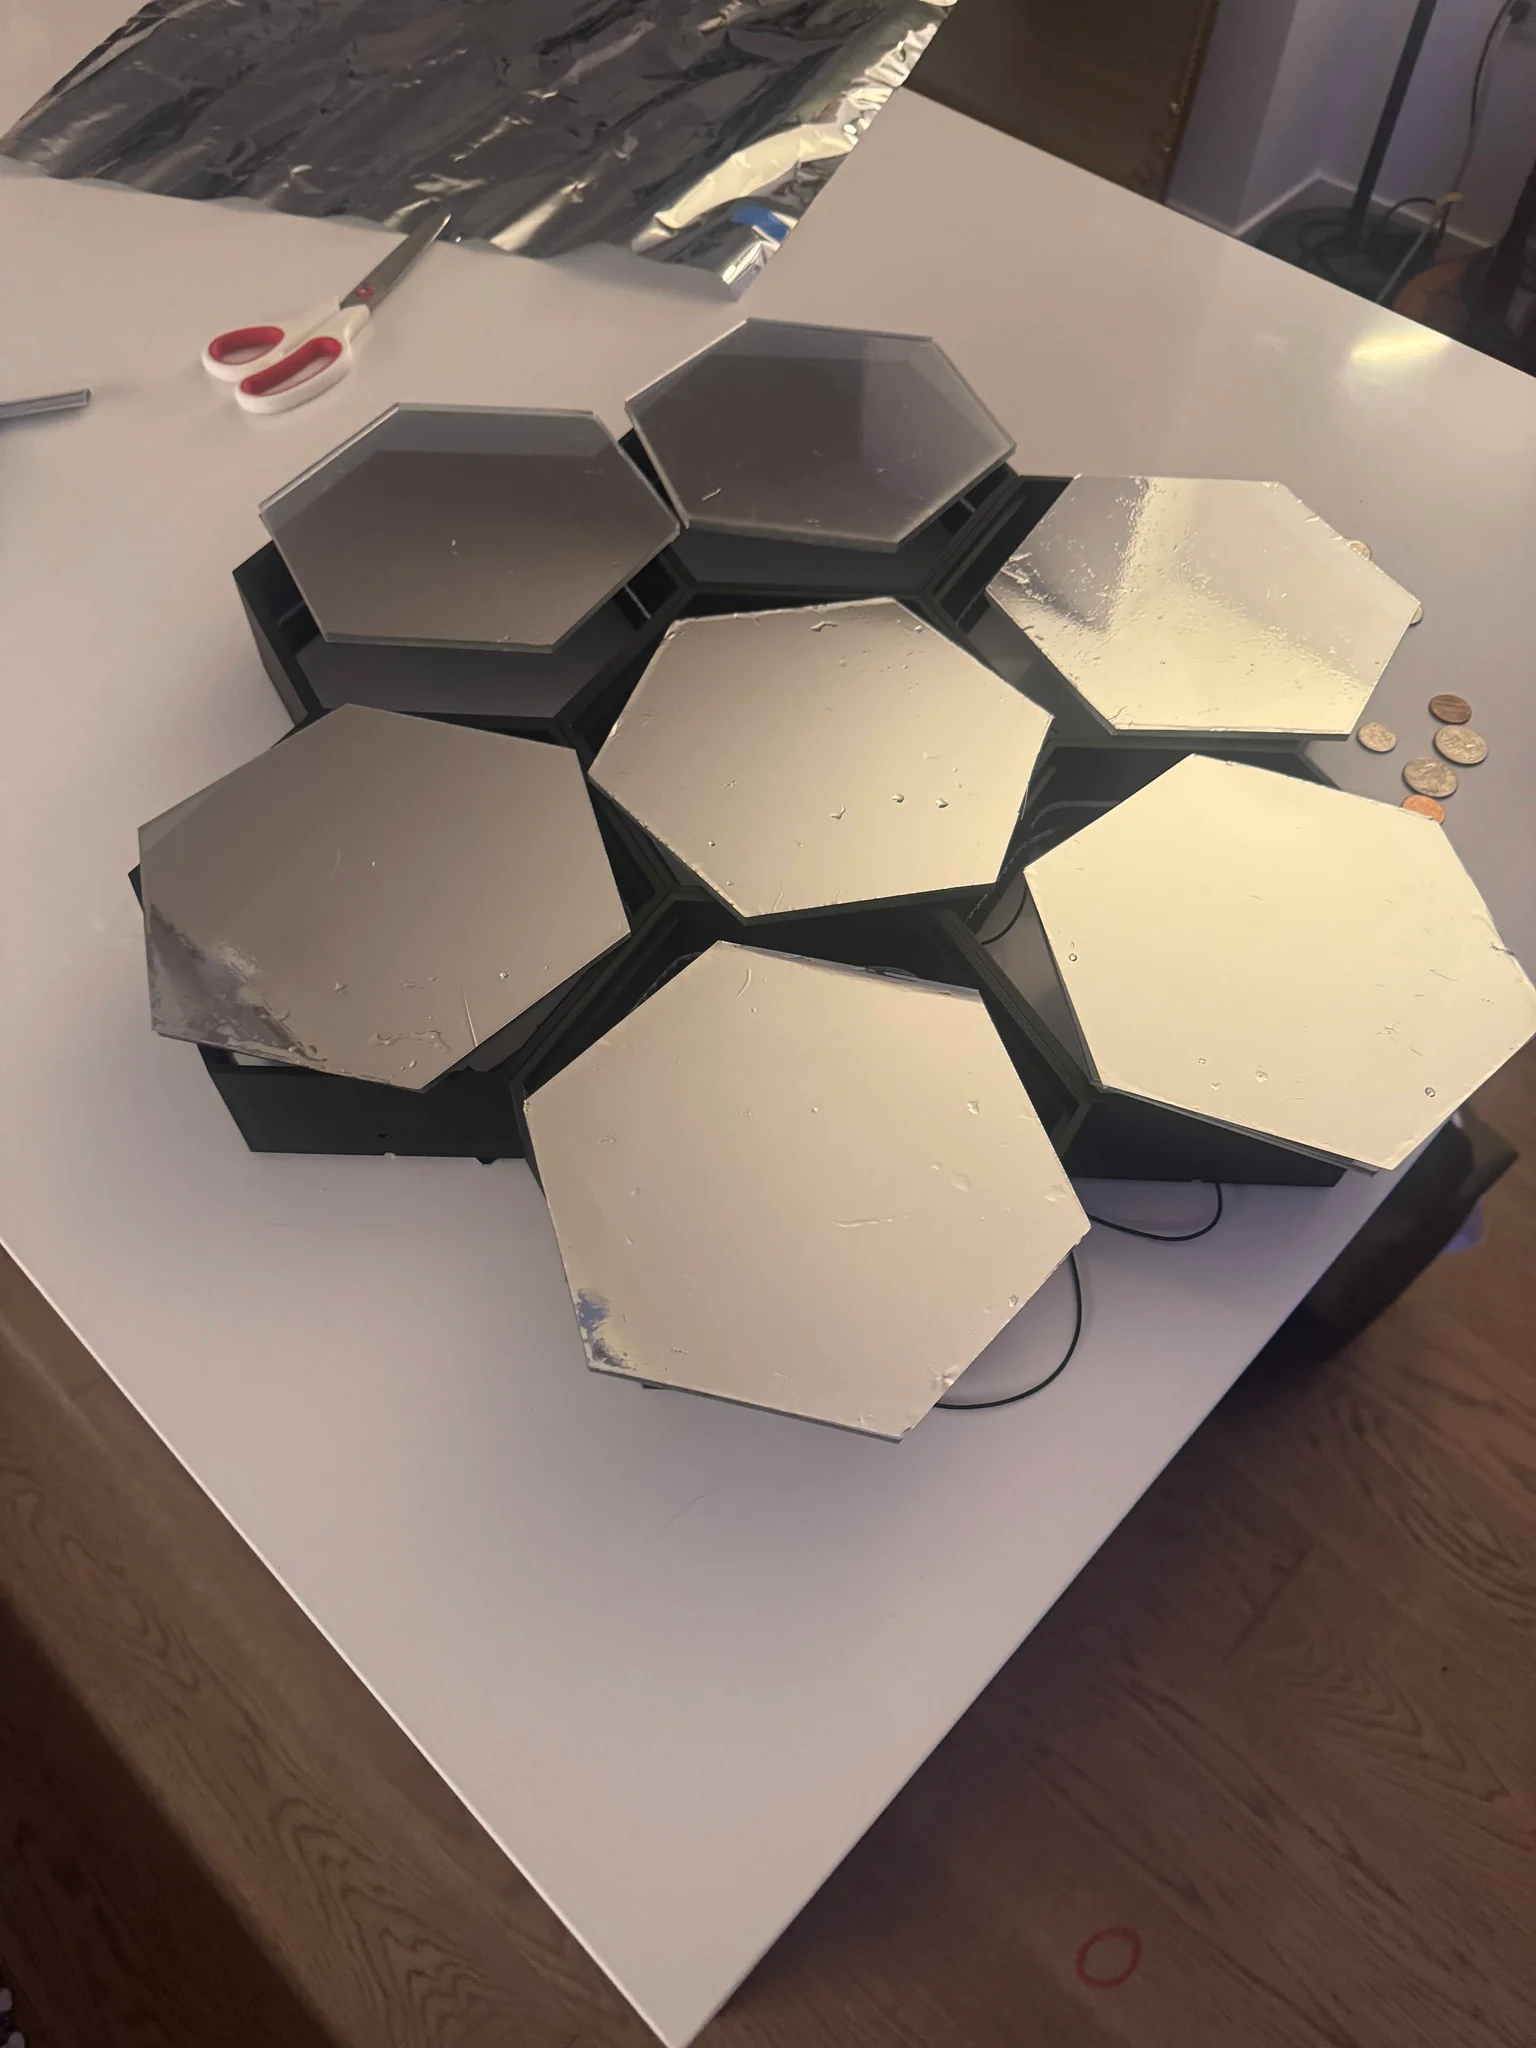
2. Cut the acrylic hex panels — Laser-cut 7 hexagons from 6mm acrylic using hex_mirror_segment.step as the source file.
3. Apply mirror film — Apply 80% reflective film to one face of each acrylic hexagon, working out bubbles. This makes the panel a two-way mirror.
4. Wire each hex cell — Cut 2020 WS2812 strip to length for one frame's channel, solder on data/5V/GND leads. Repeat for all 7.
5. Assemble each cell — Seat the LED strip in the printed channel, then press in the film-side-in acrylic panel to seal the cell.
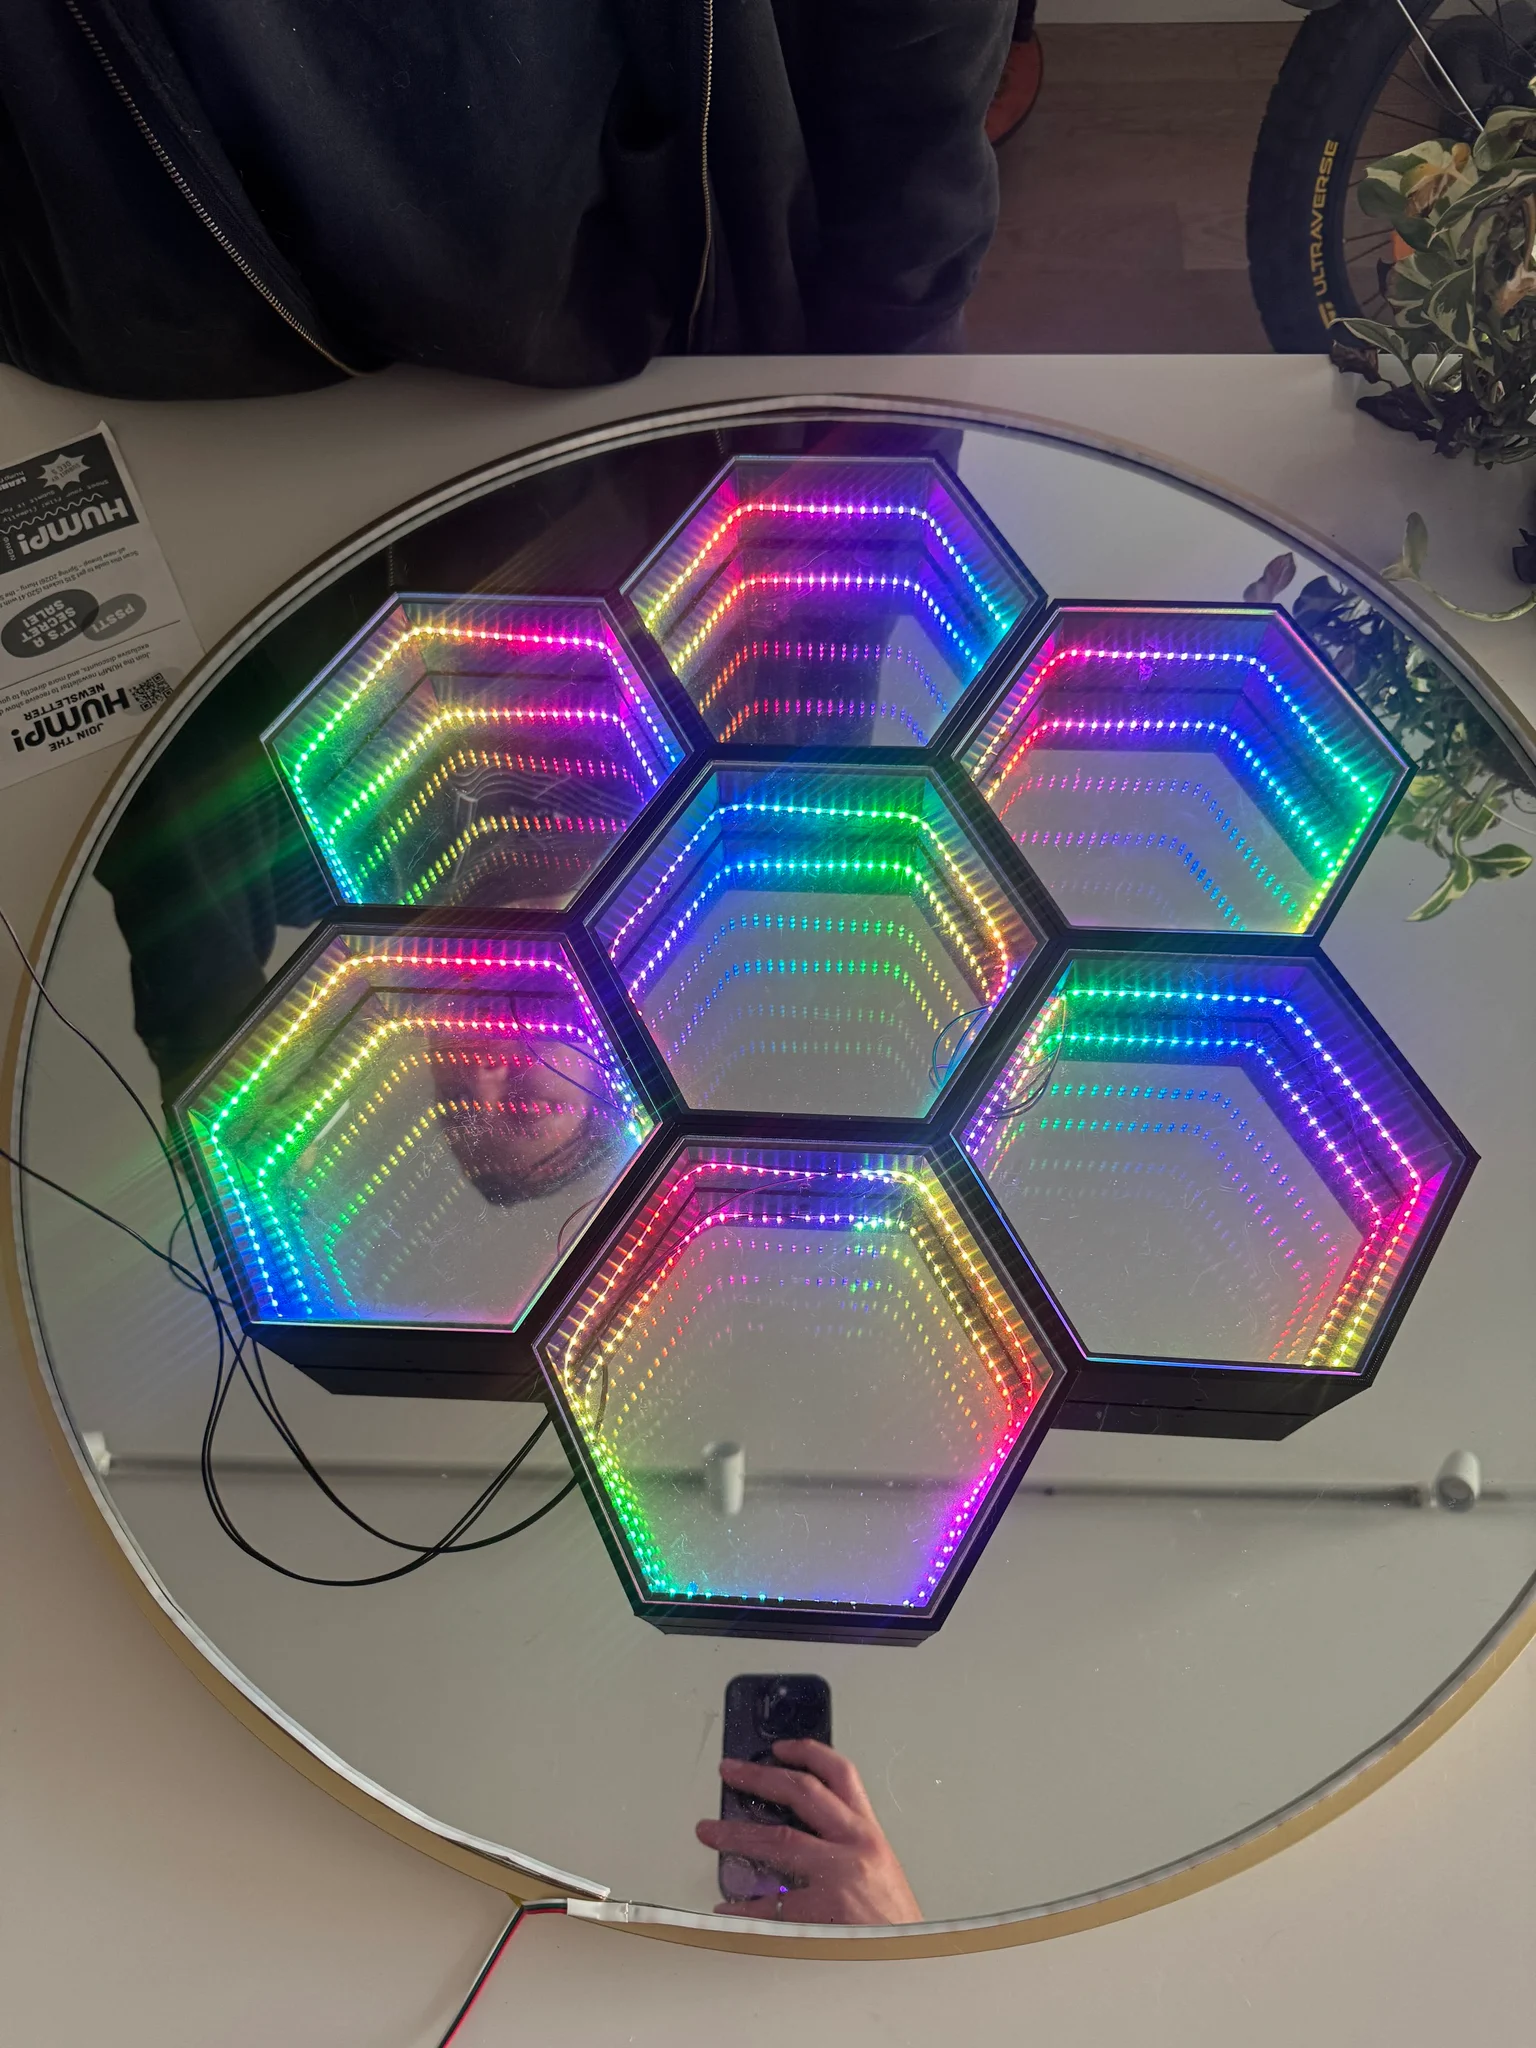
6. Bolt the honeycomb together — Using hex_array.step as the layout guide, arrange the 7 cells (1 center, 6 surrounding) and join adjacent frames along shared edges with M3x8mm bolts.
7. Chain the wiring — Daisy-chain data cell-to-cell, tie 5V/GND together in parallel across all 7, and bring one data + one power lead out to the controller location.
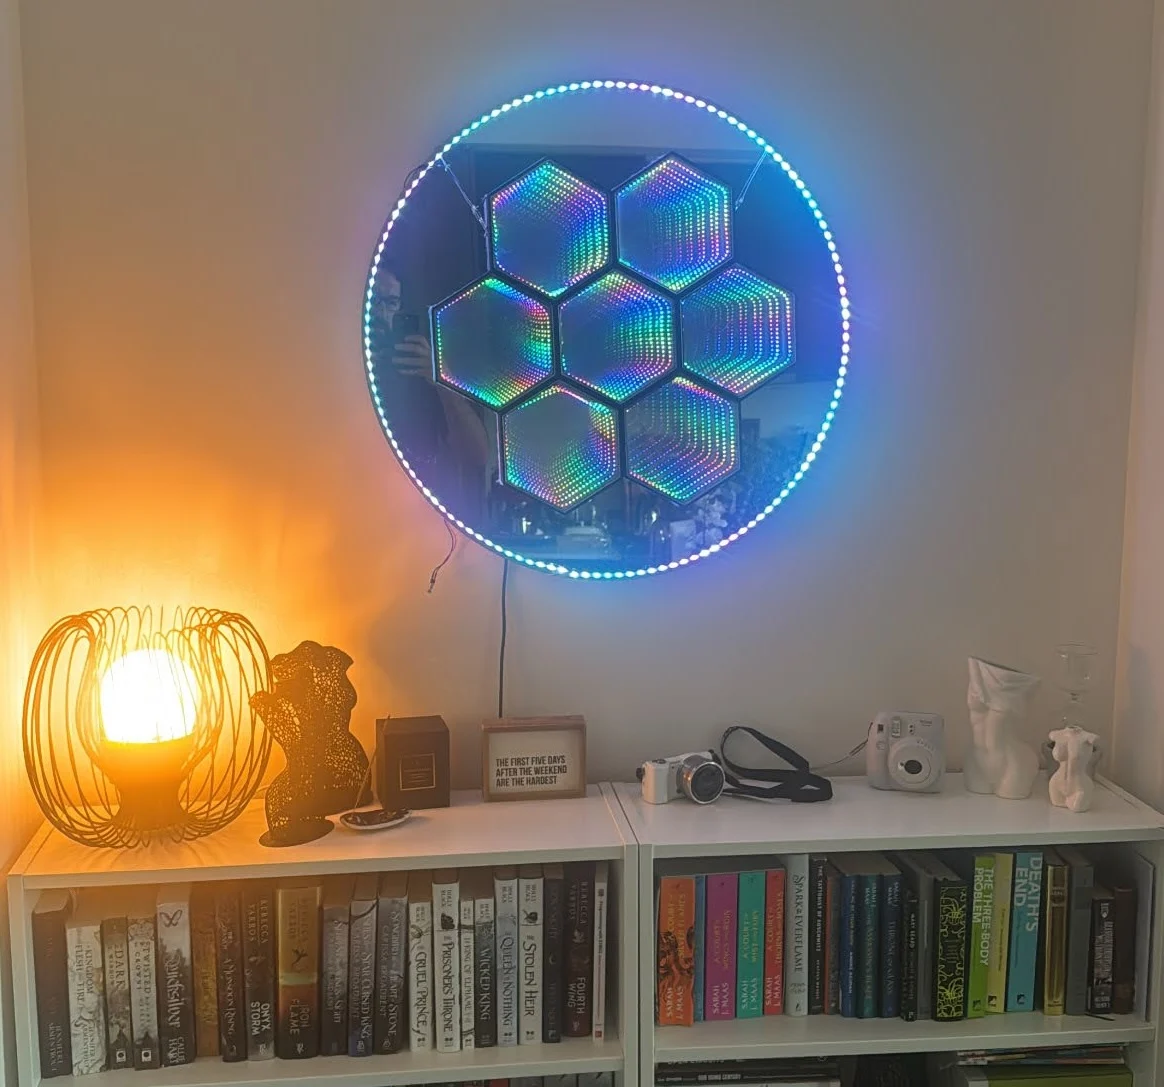
8. Hang the cluster on the mirror — Attach picture frame wire (with D-rings/screw eyes) to the back of the honeycomb cluster and hang it centered on the mirror face.
9. Add the outer halo ring — Run the 2m WS2812 COB strip around the mirror's outer edge, securing as you go. Wire its data/power separately or chain off the last hex cell.
10. Wire to the ESP32 and flash WLED — Connect data (through the level shifter) and power to the ESP32, flash WLED, and set up the 7 hex cells and the ring as separate segments so they can be controlled independently.
11. Power up, test, and hang the finished mirror — Confirm all segments light up correctly, then mount the finished piece to the wall.